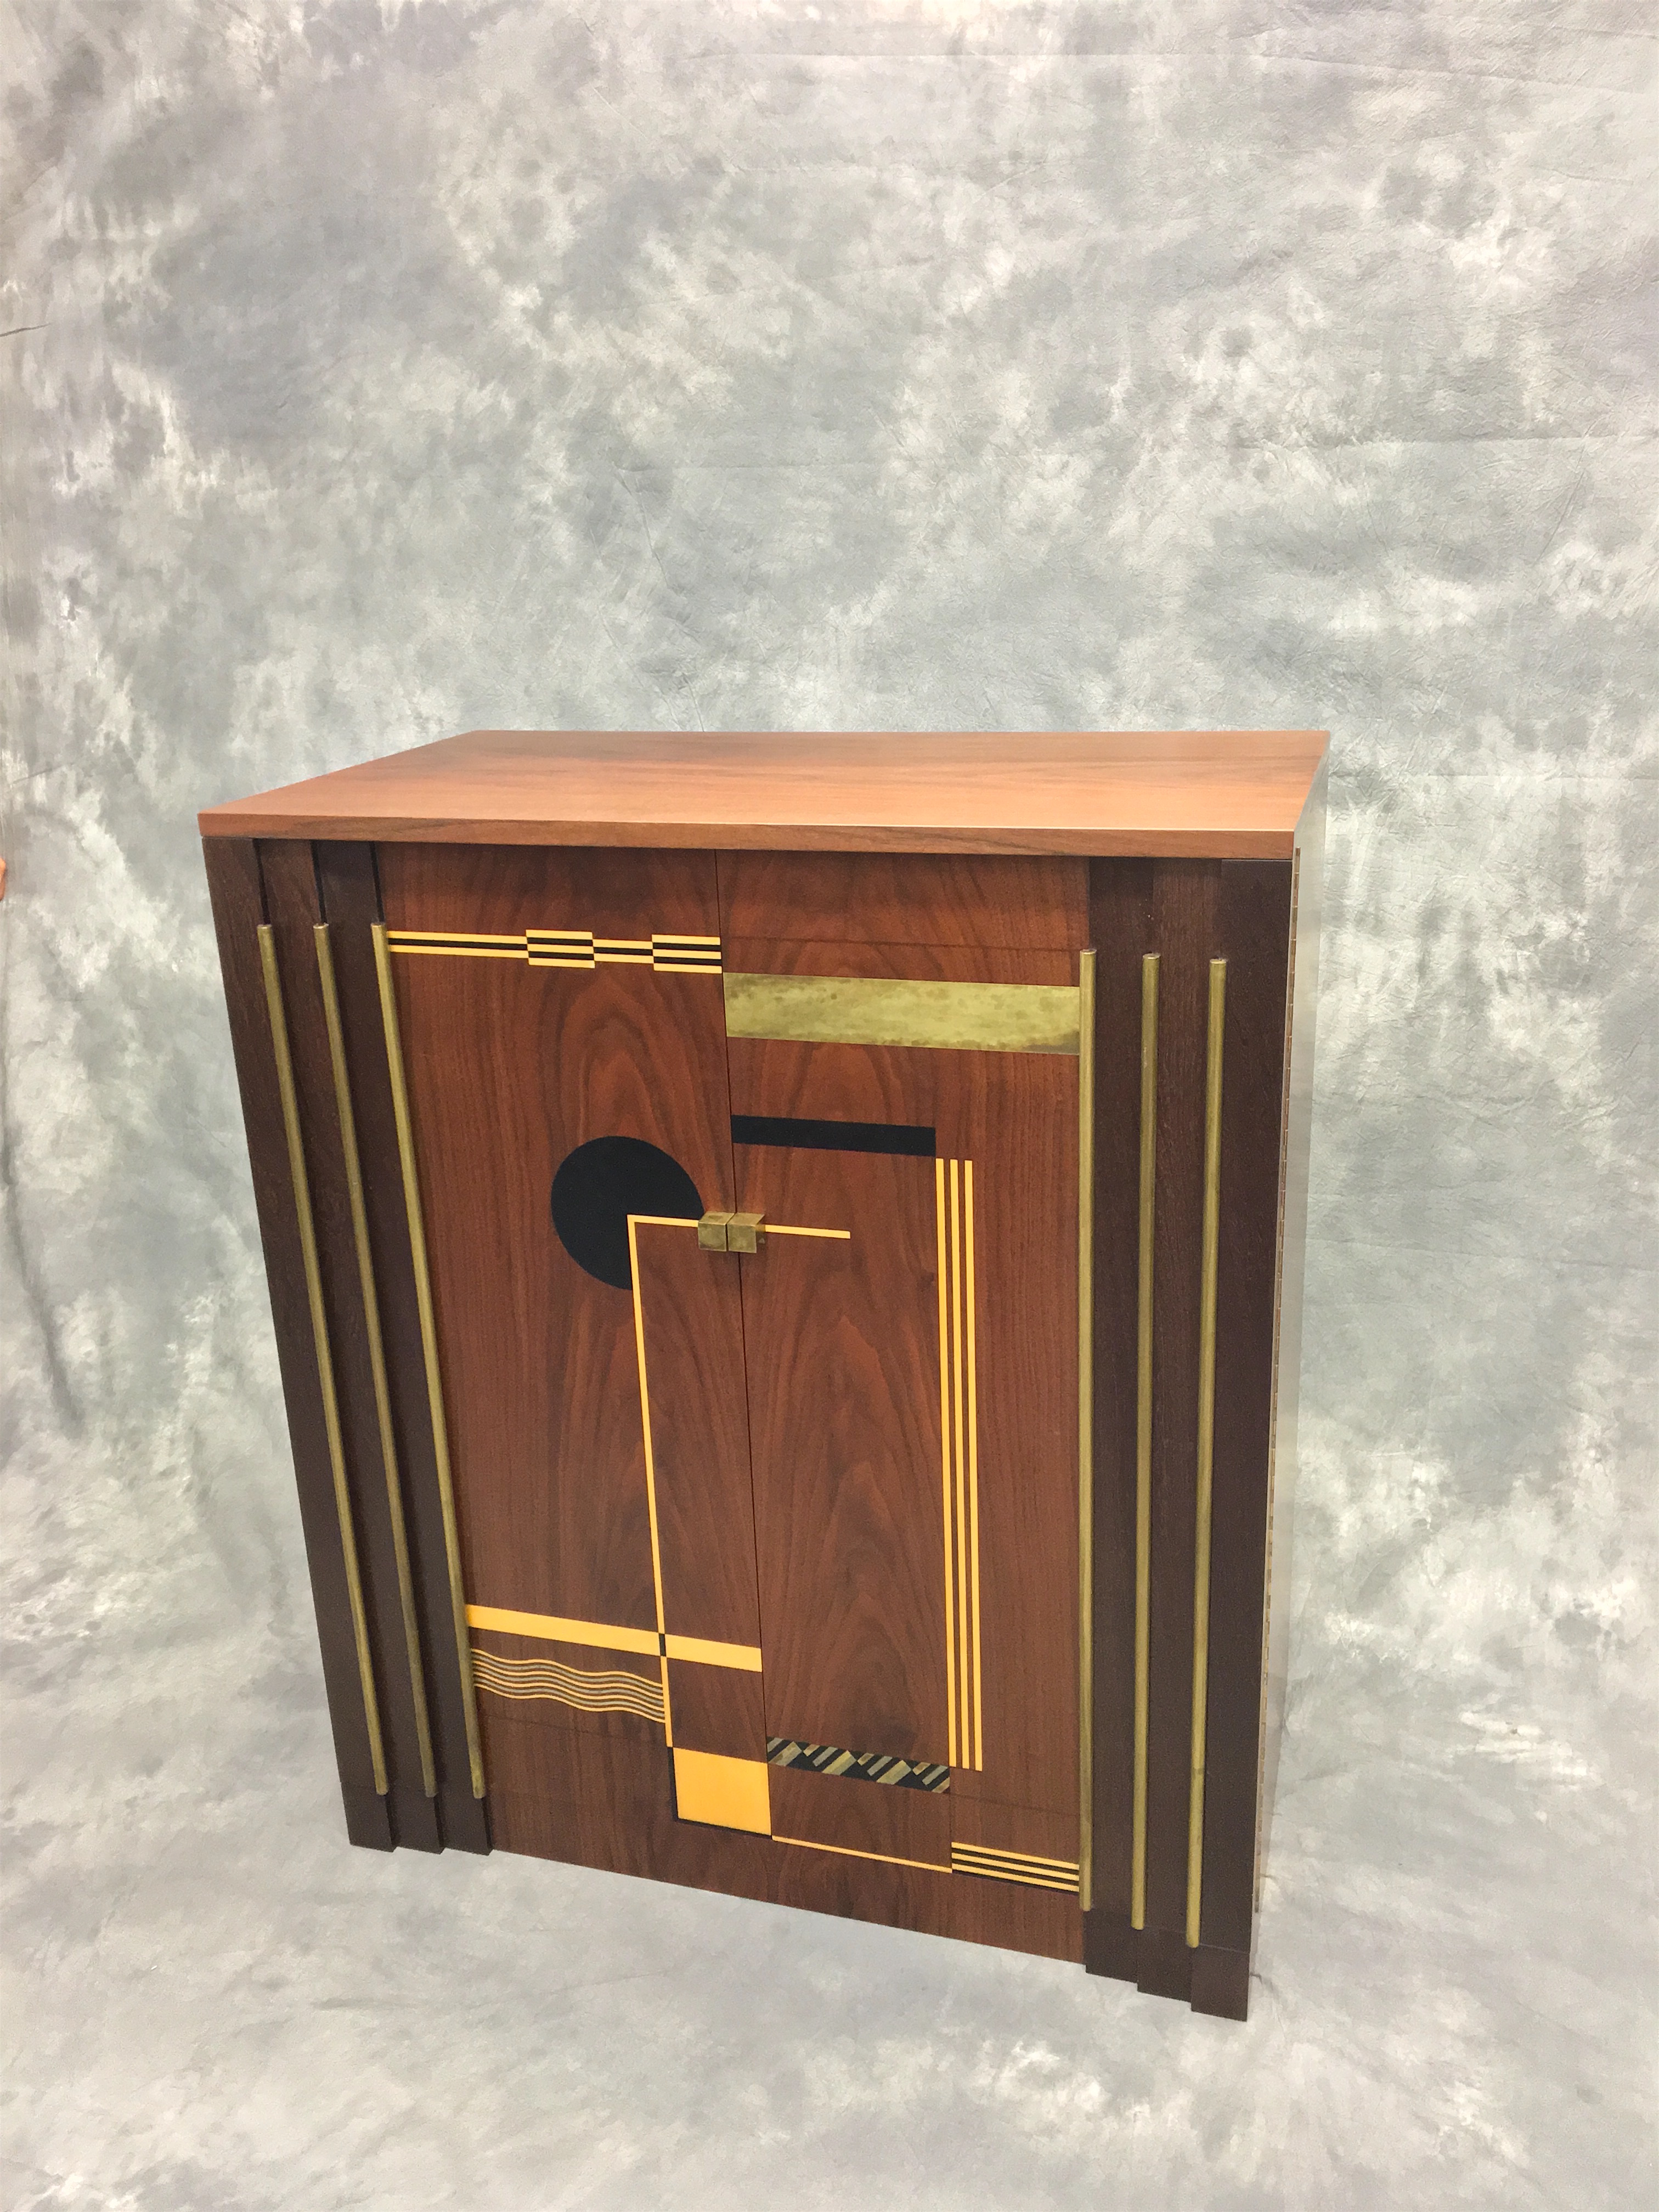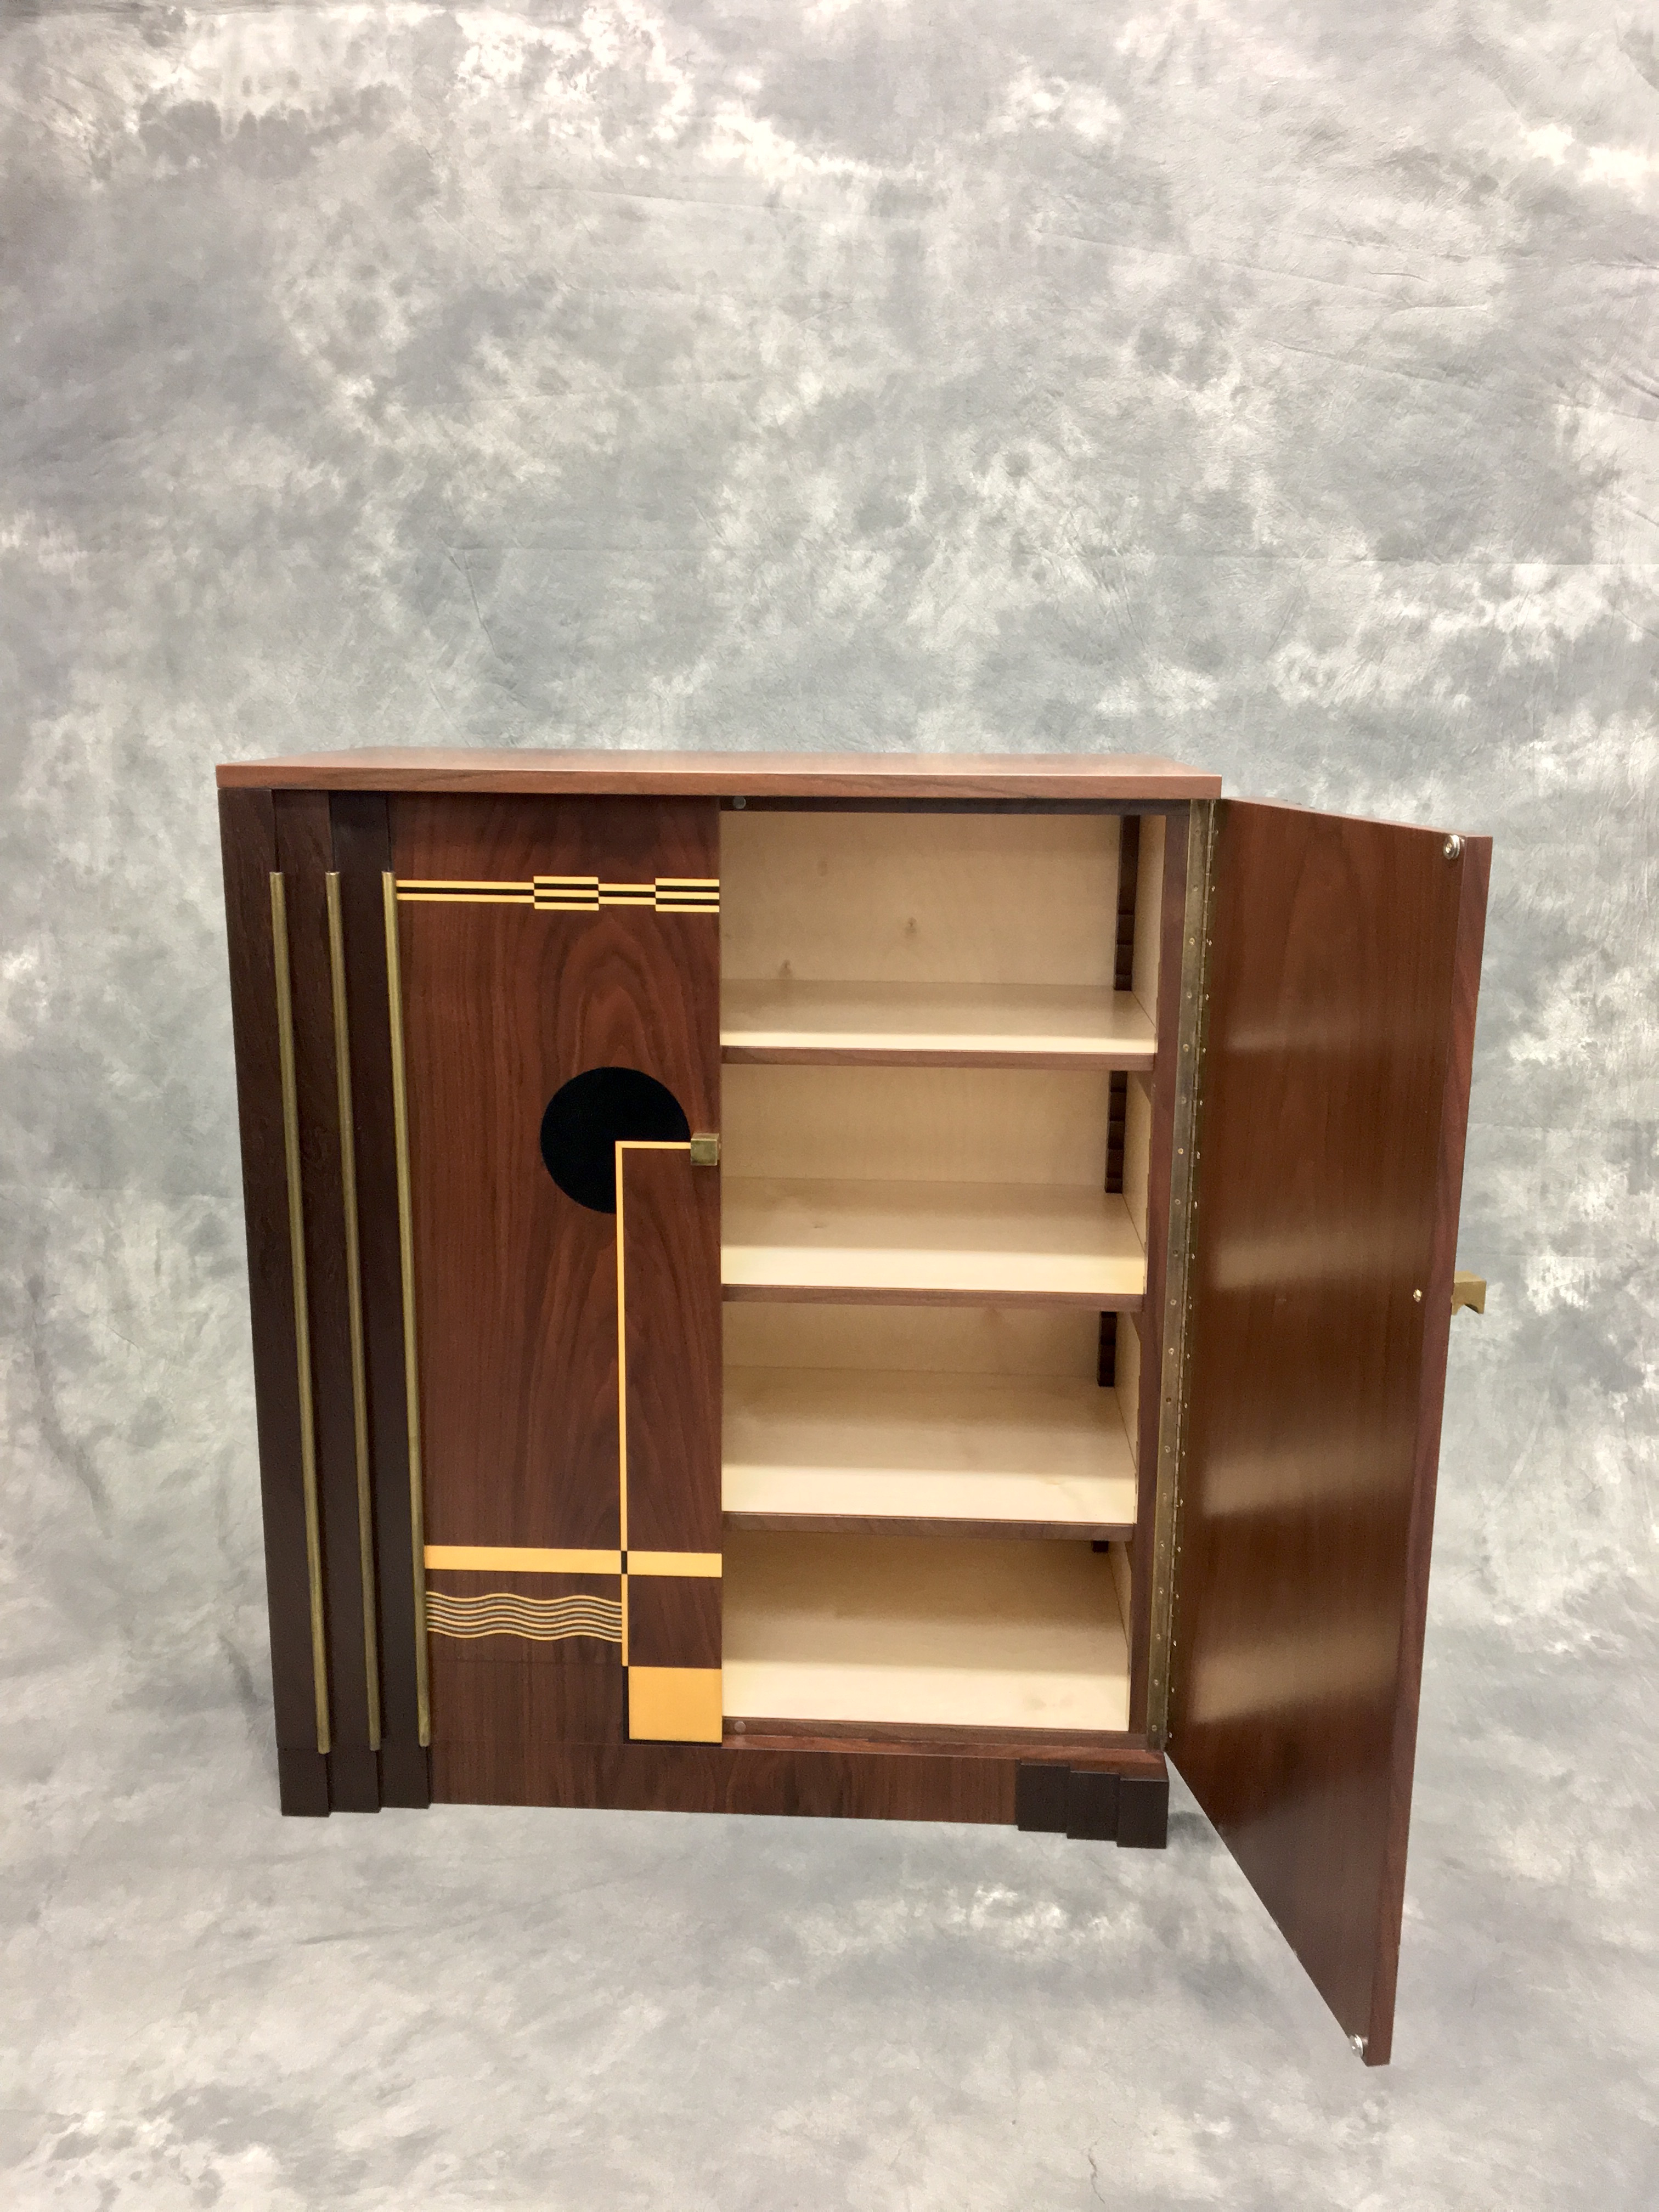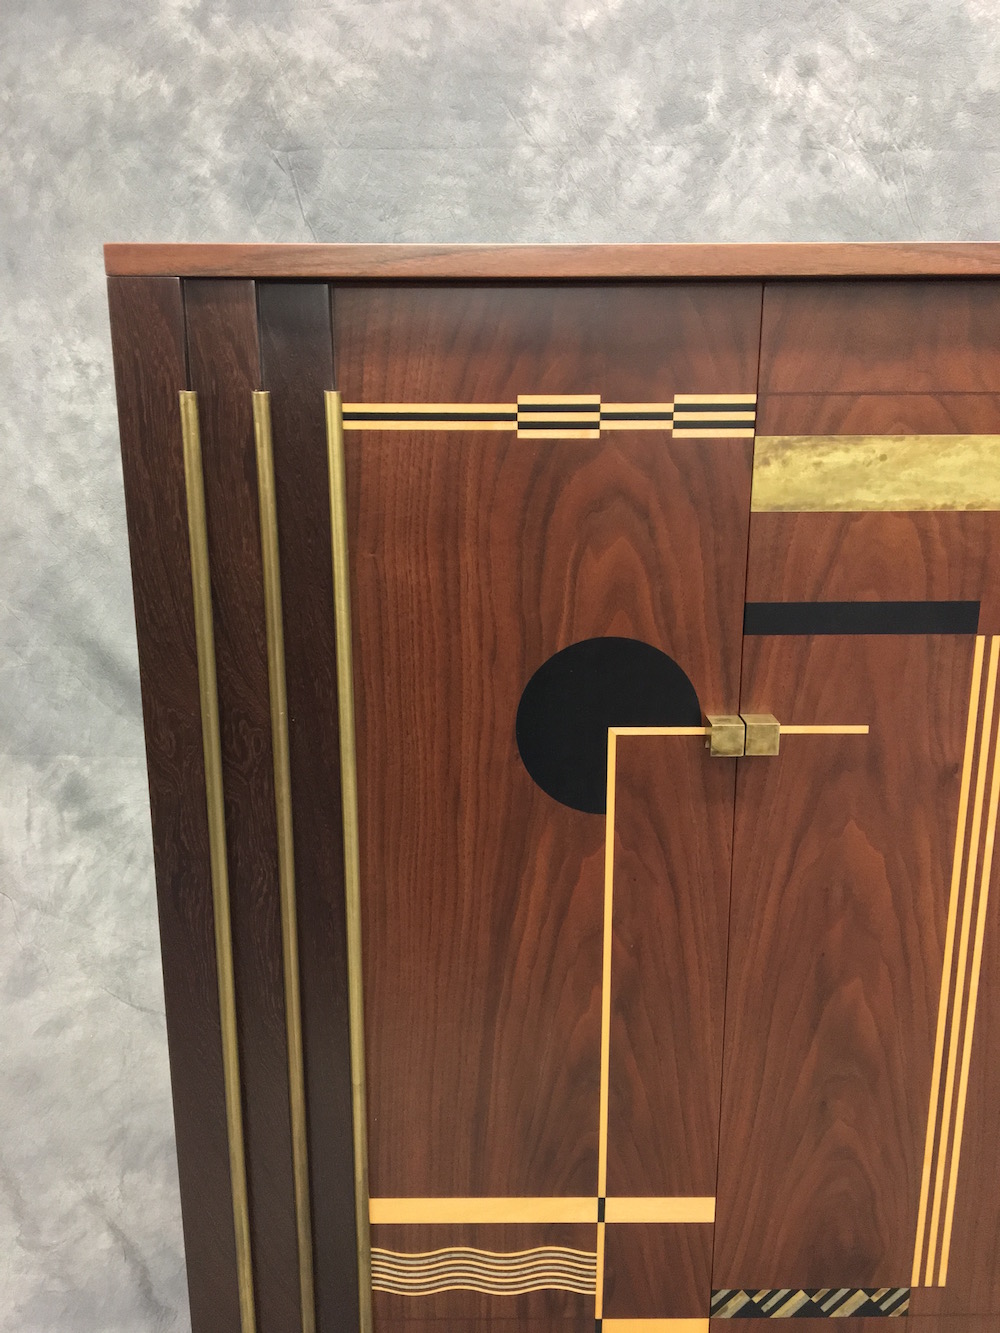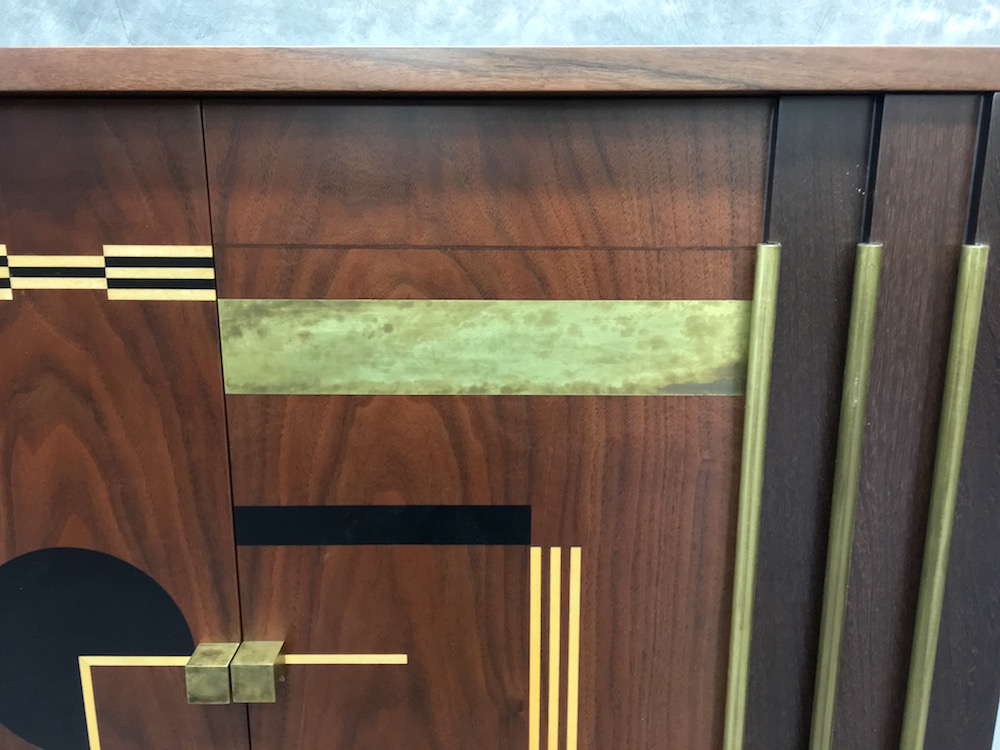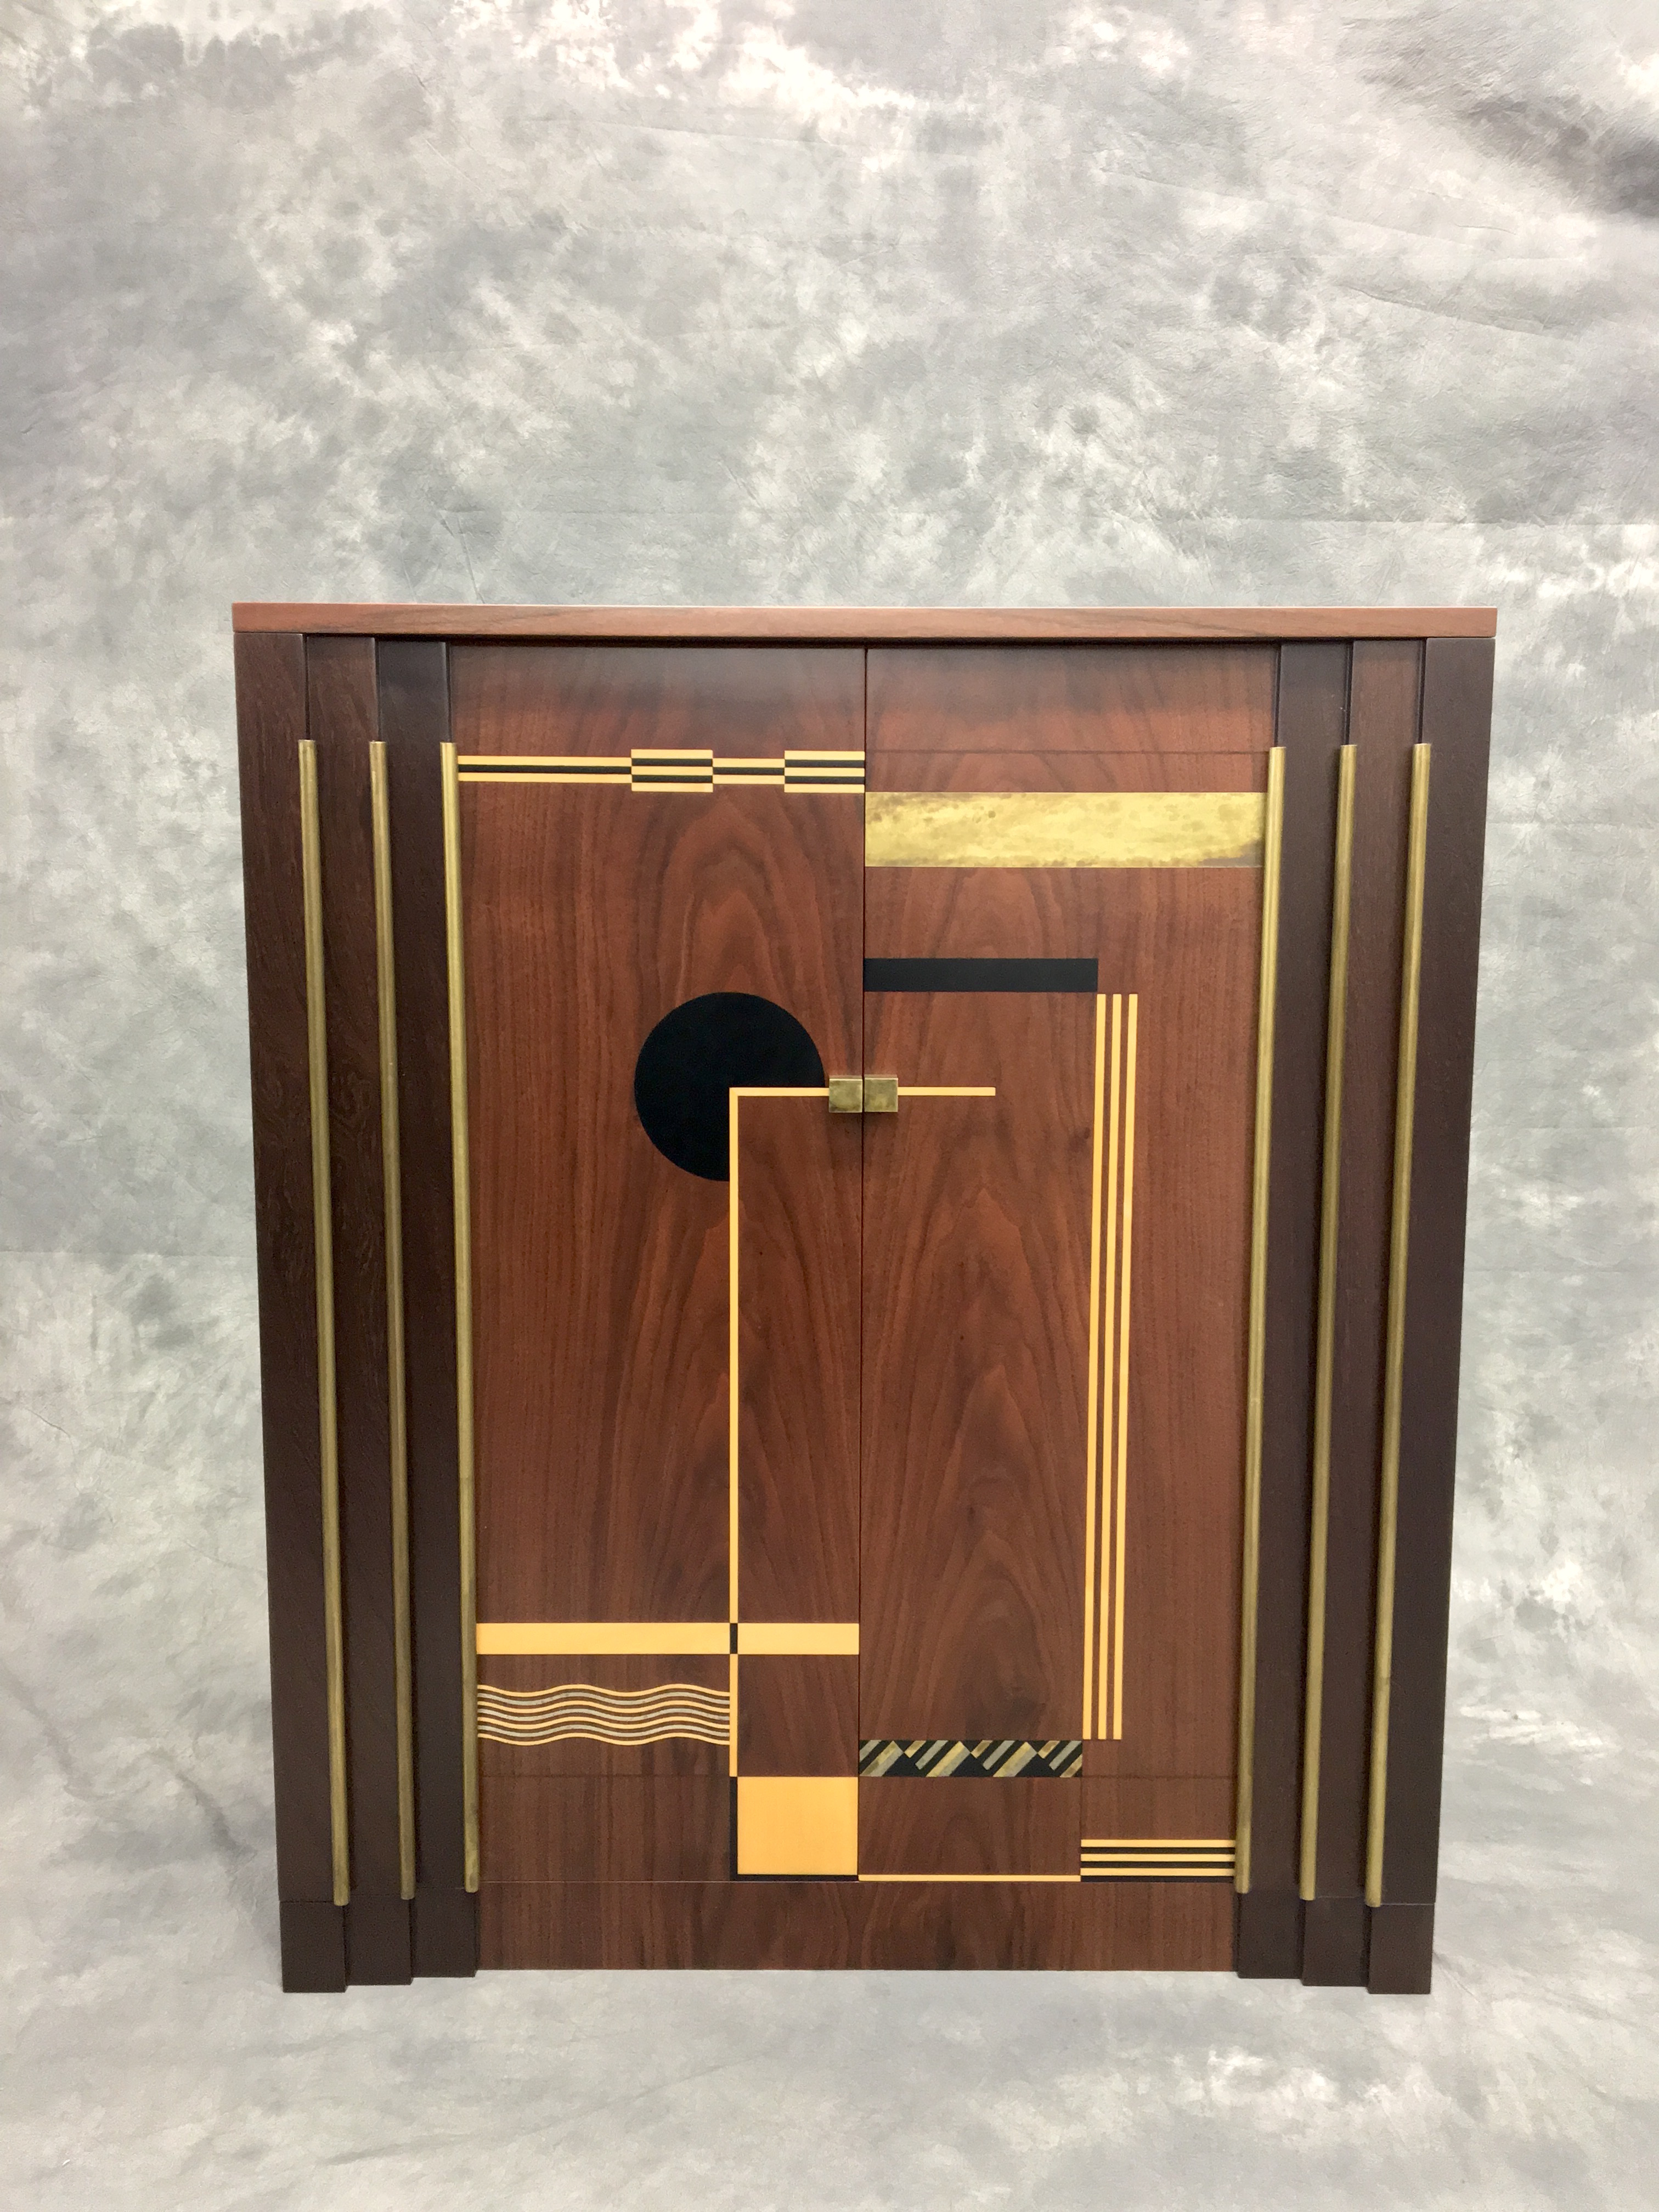
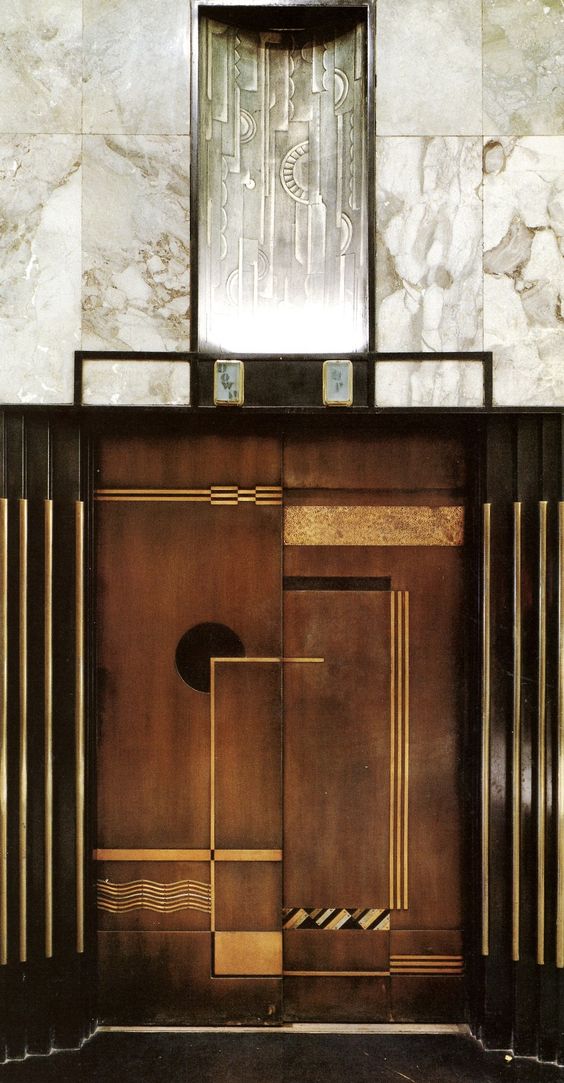
Couple months ago, we were contacted by a designer in LA to create a deco cabinet inspired by an elevator door in LA.
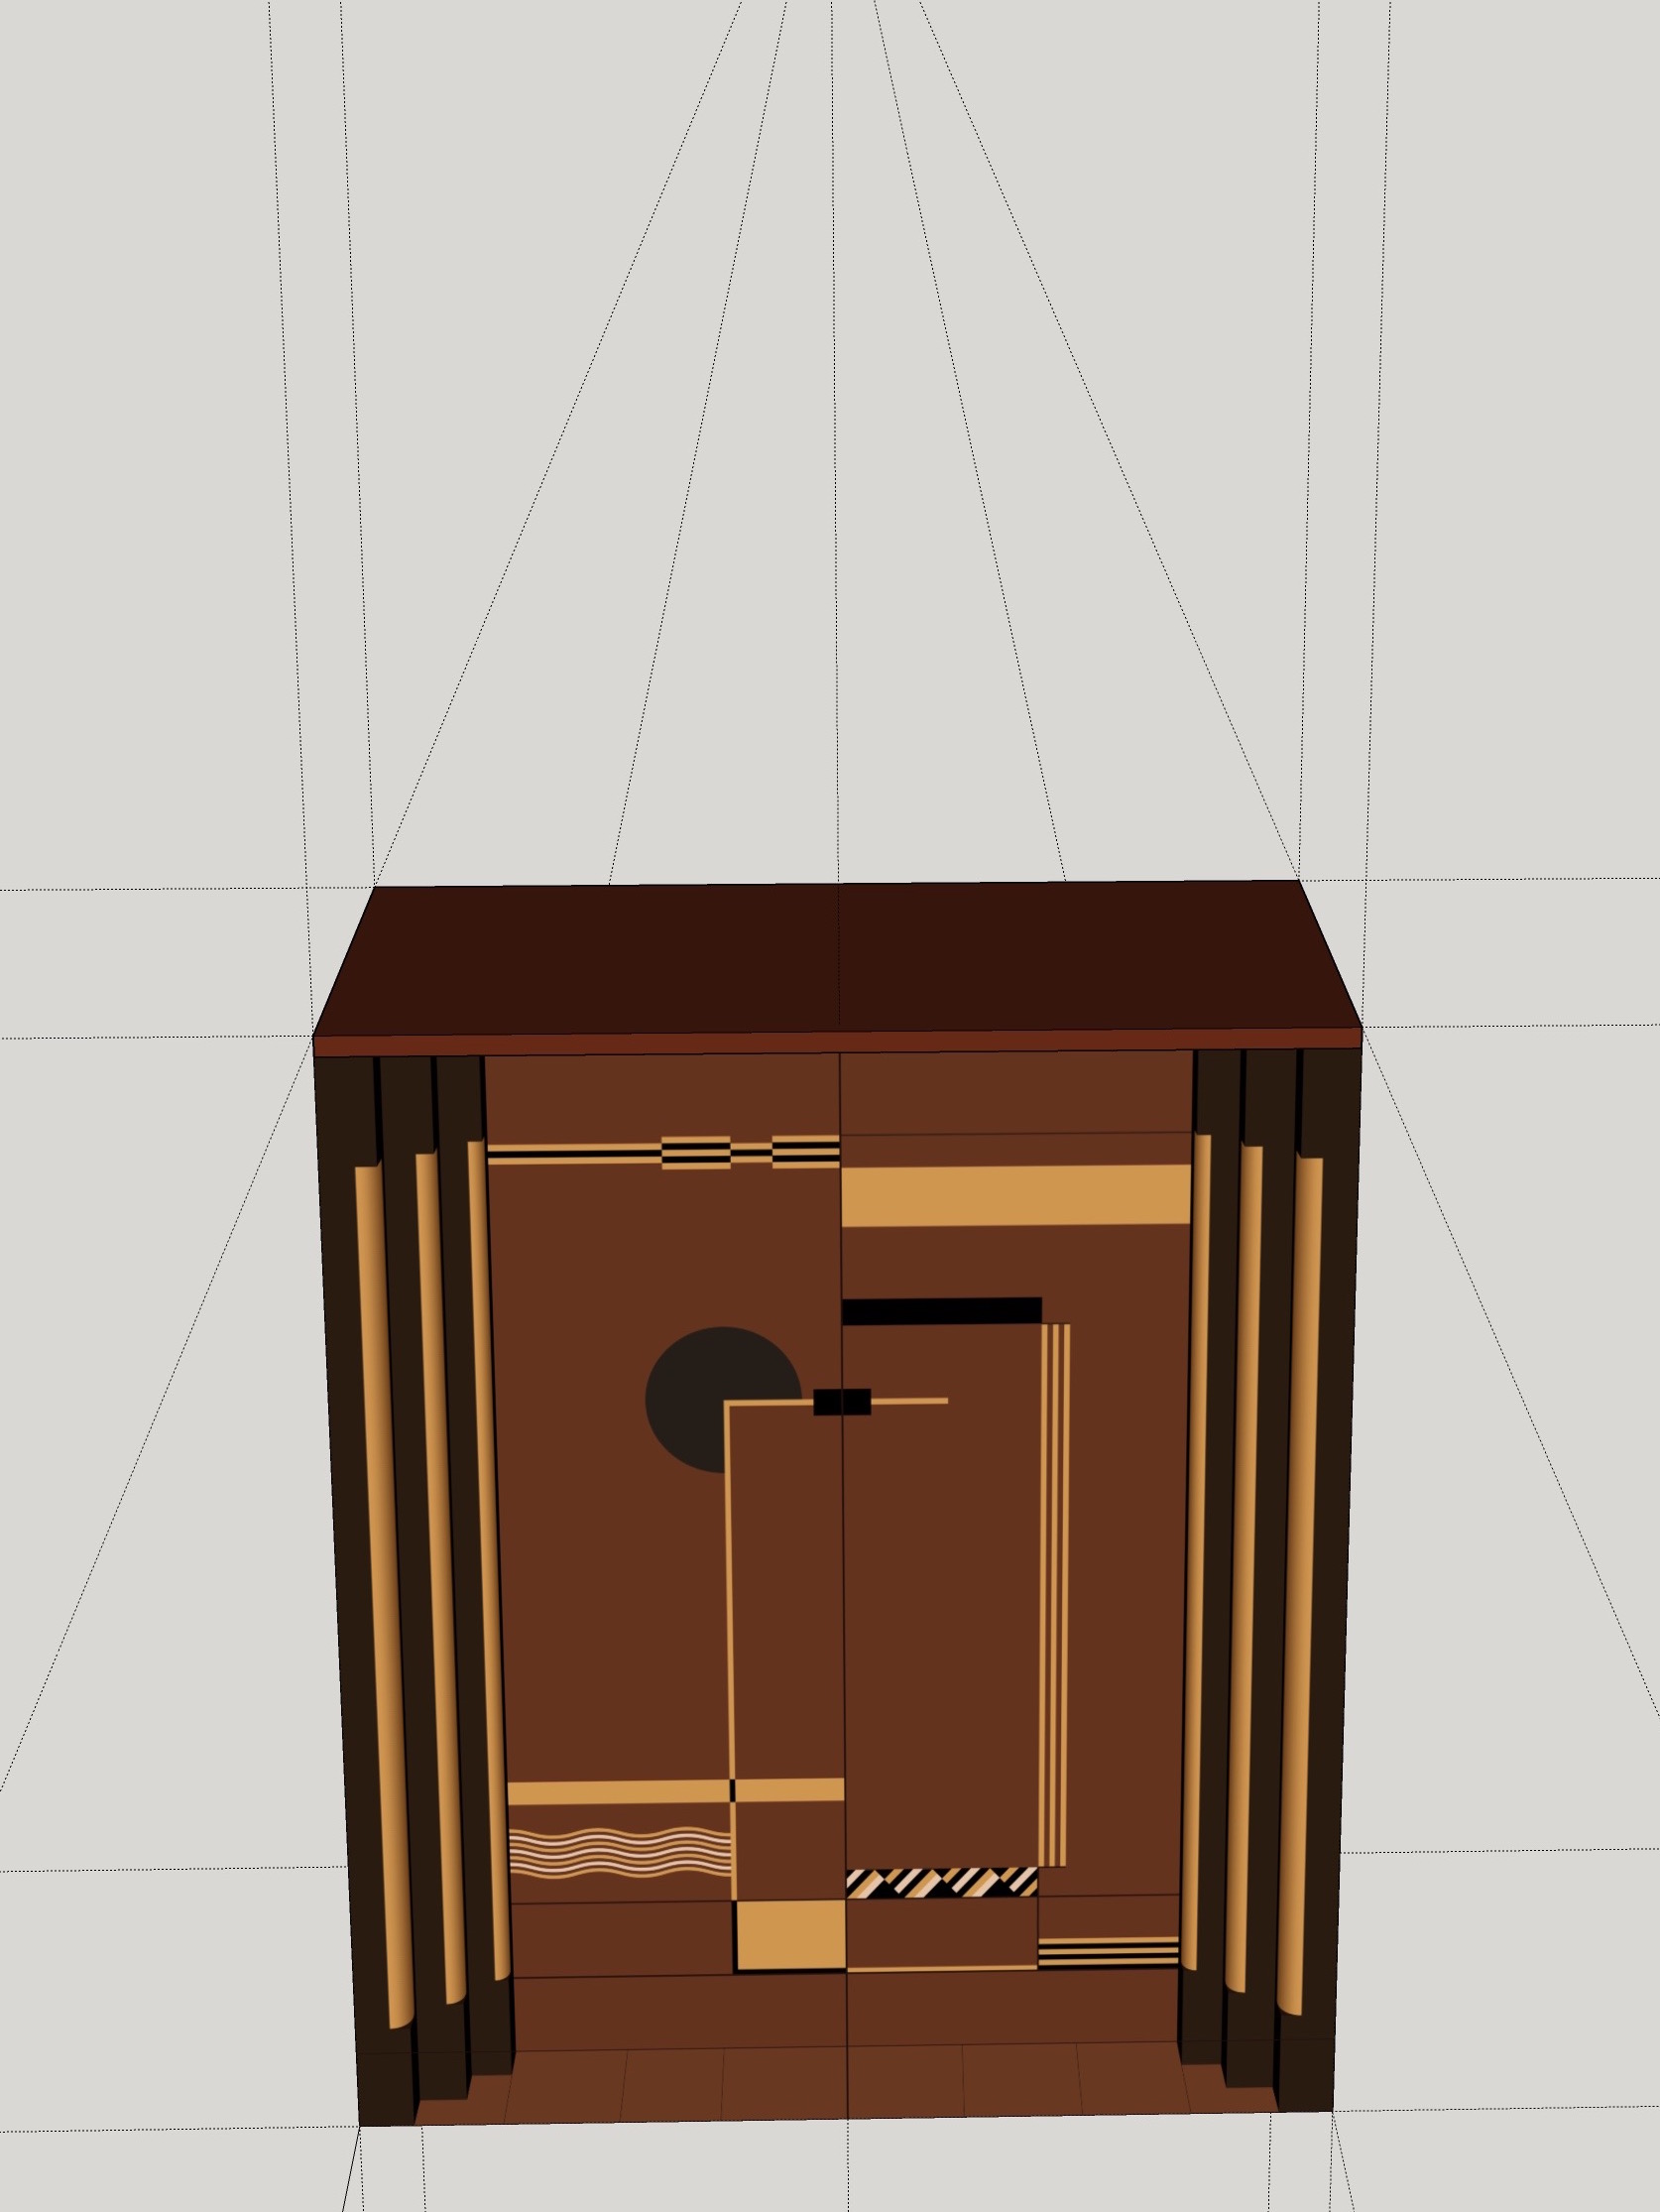
At first we worked on a trompe-l'oeil concept
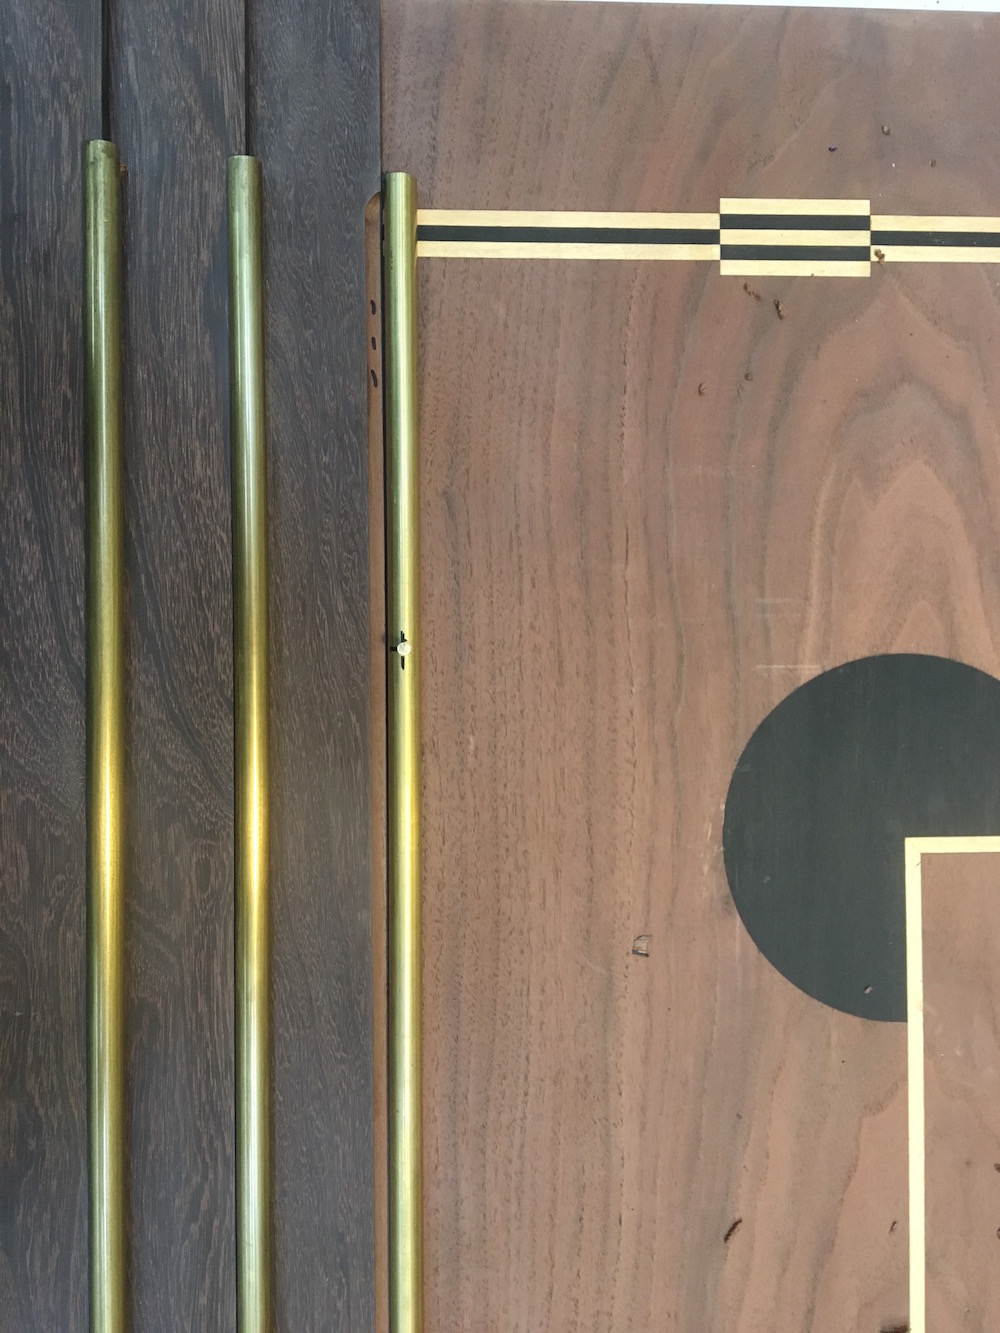
Then with the deigner, we upgraded to real volume pilaster with brass rods
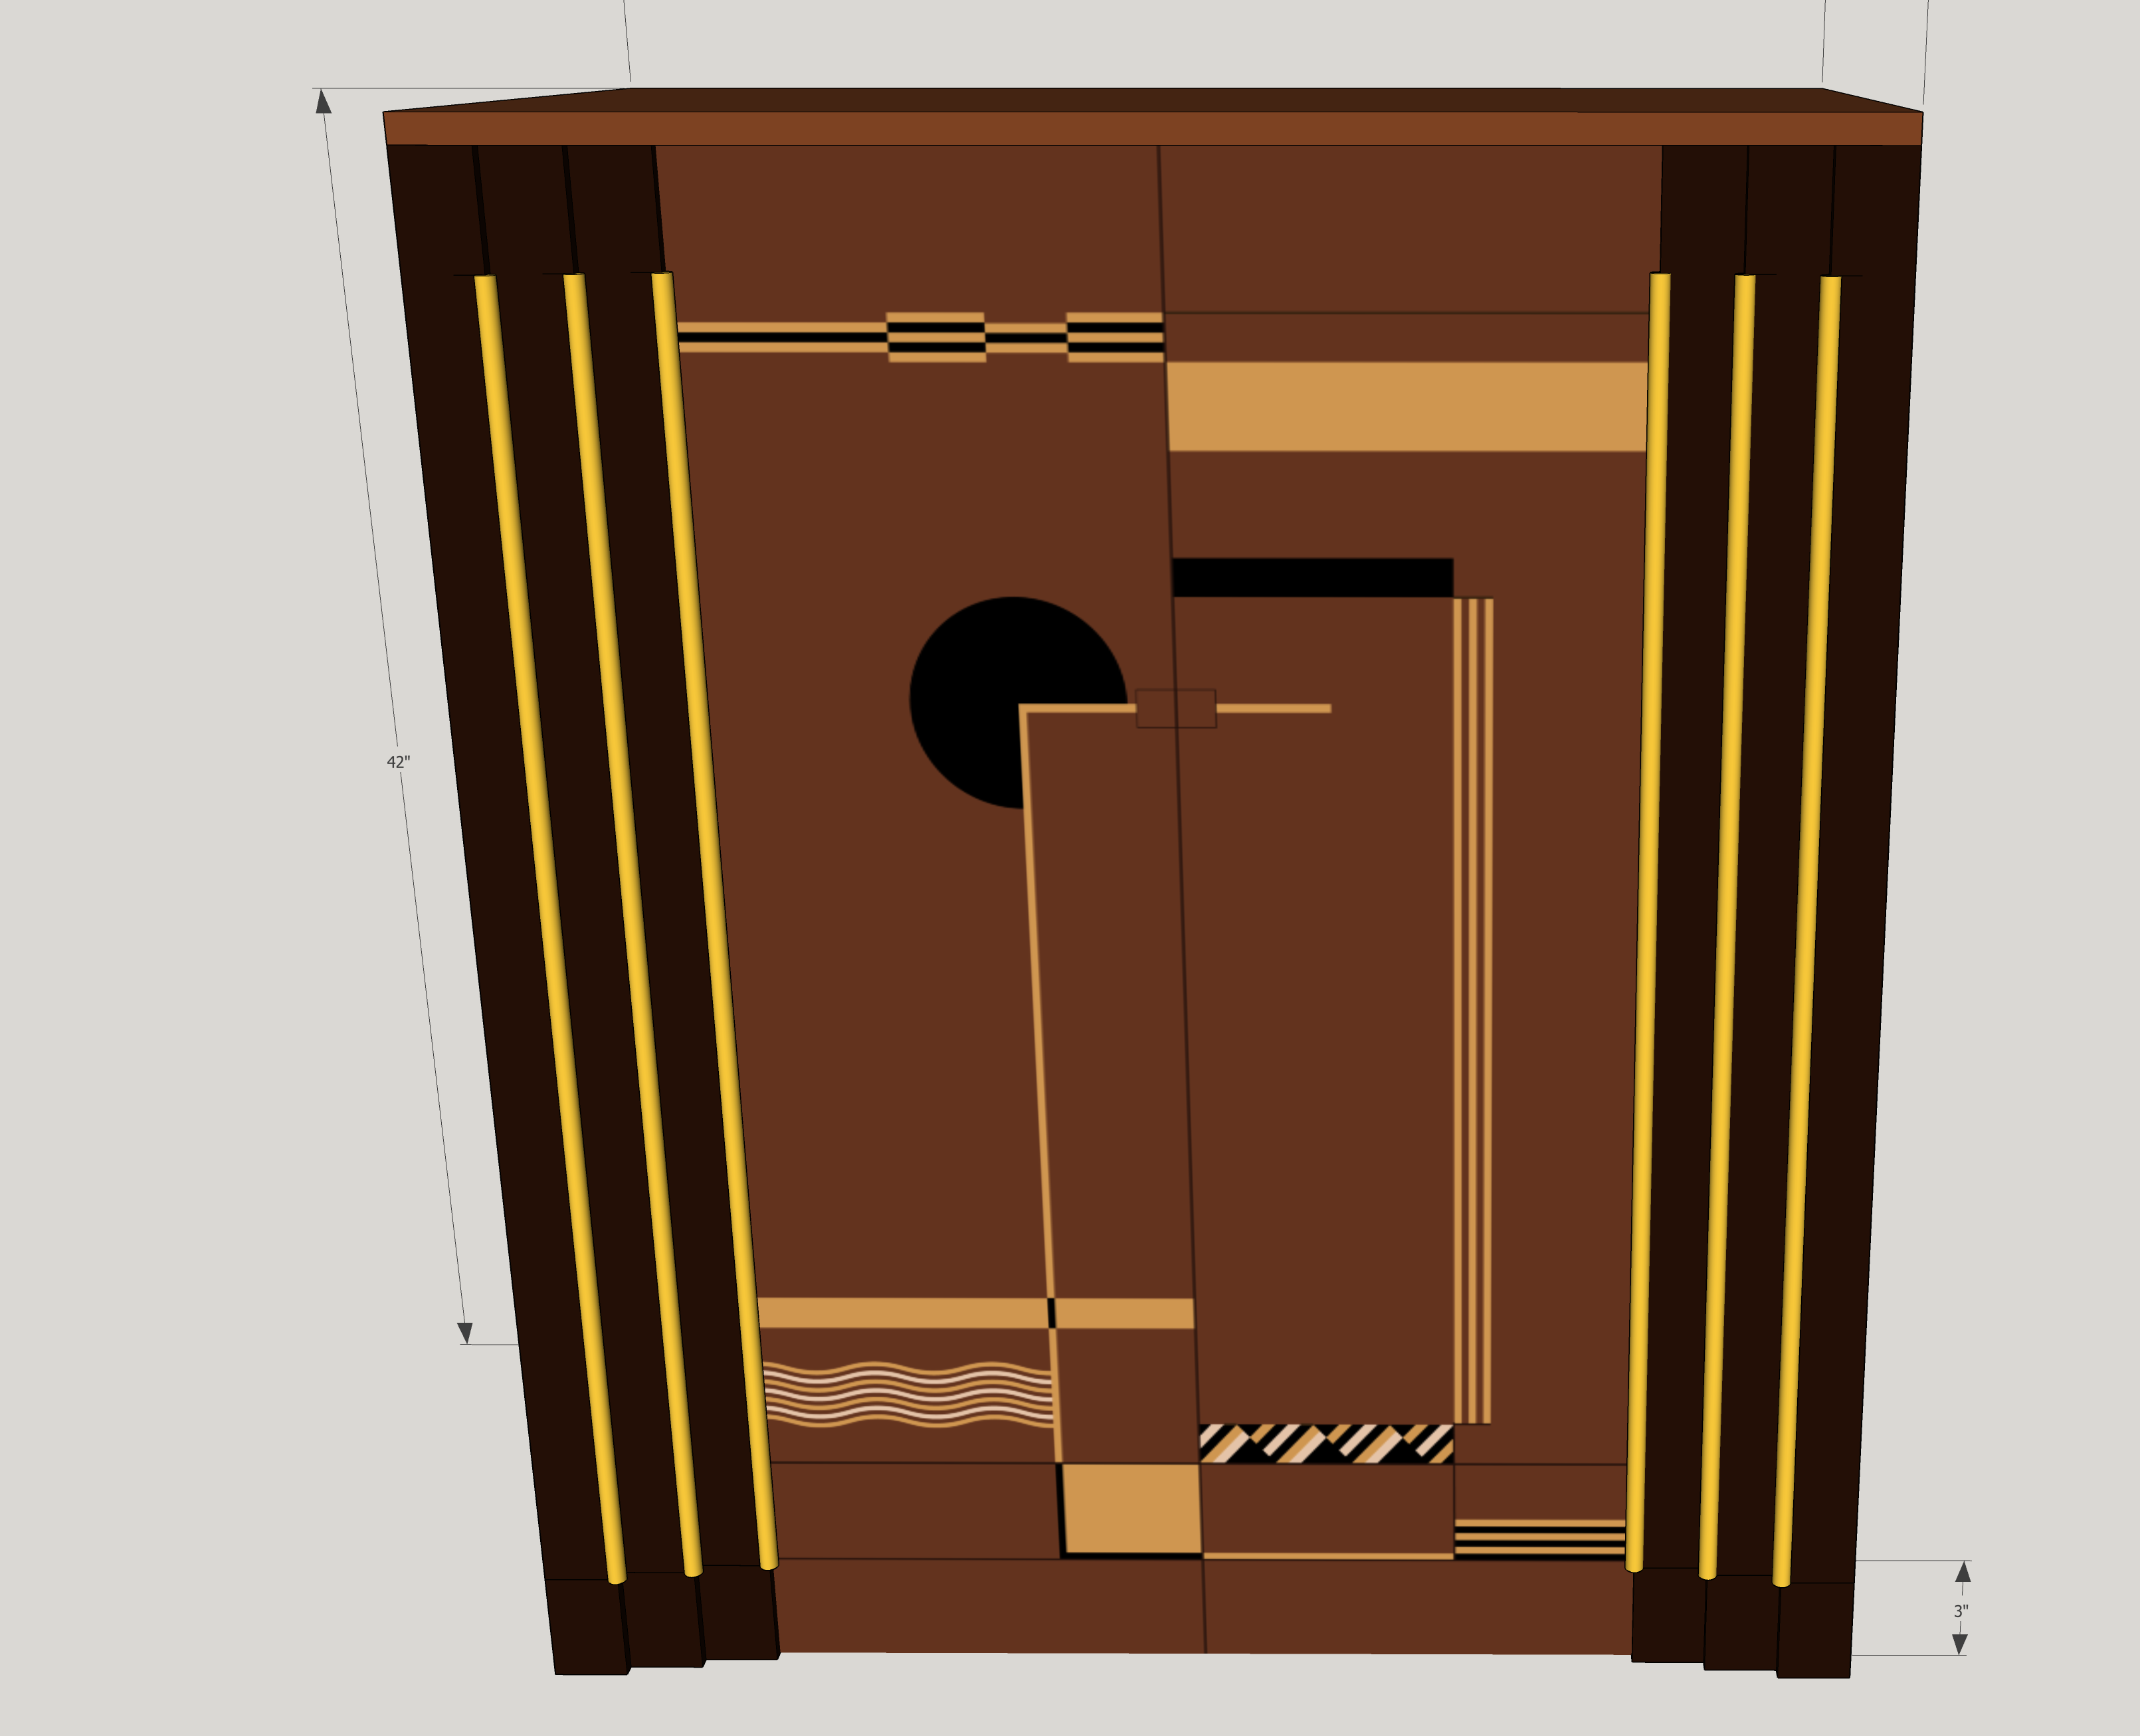
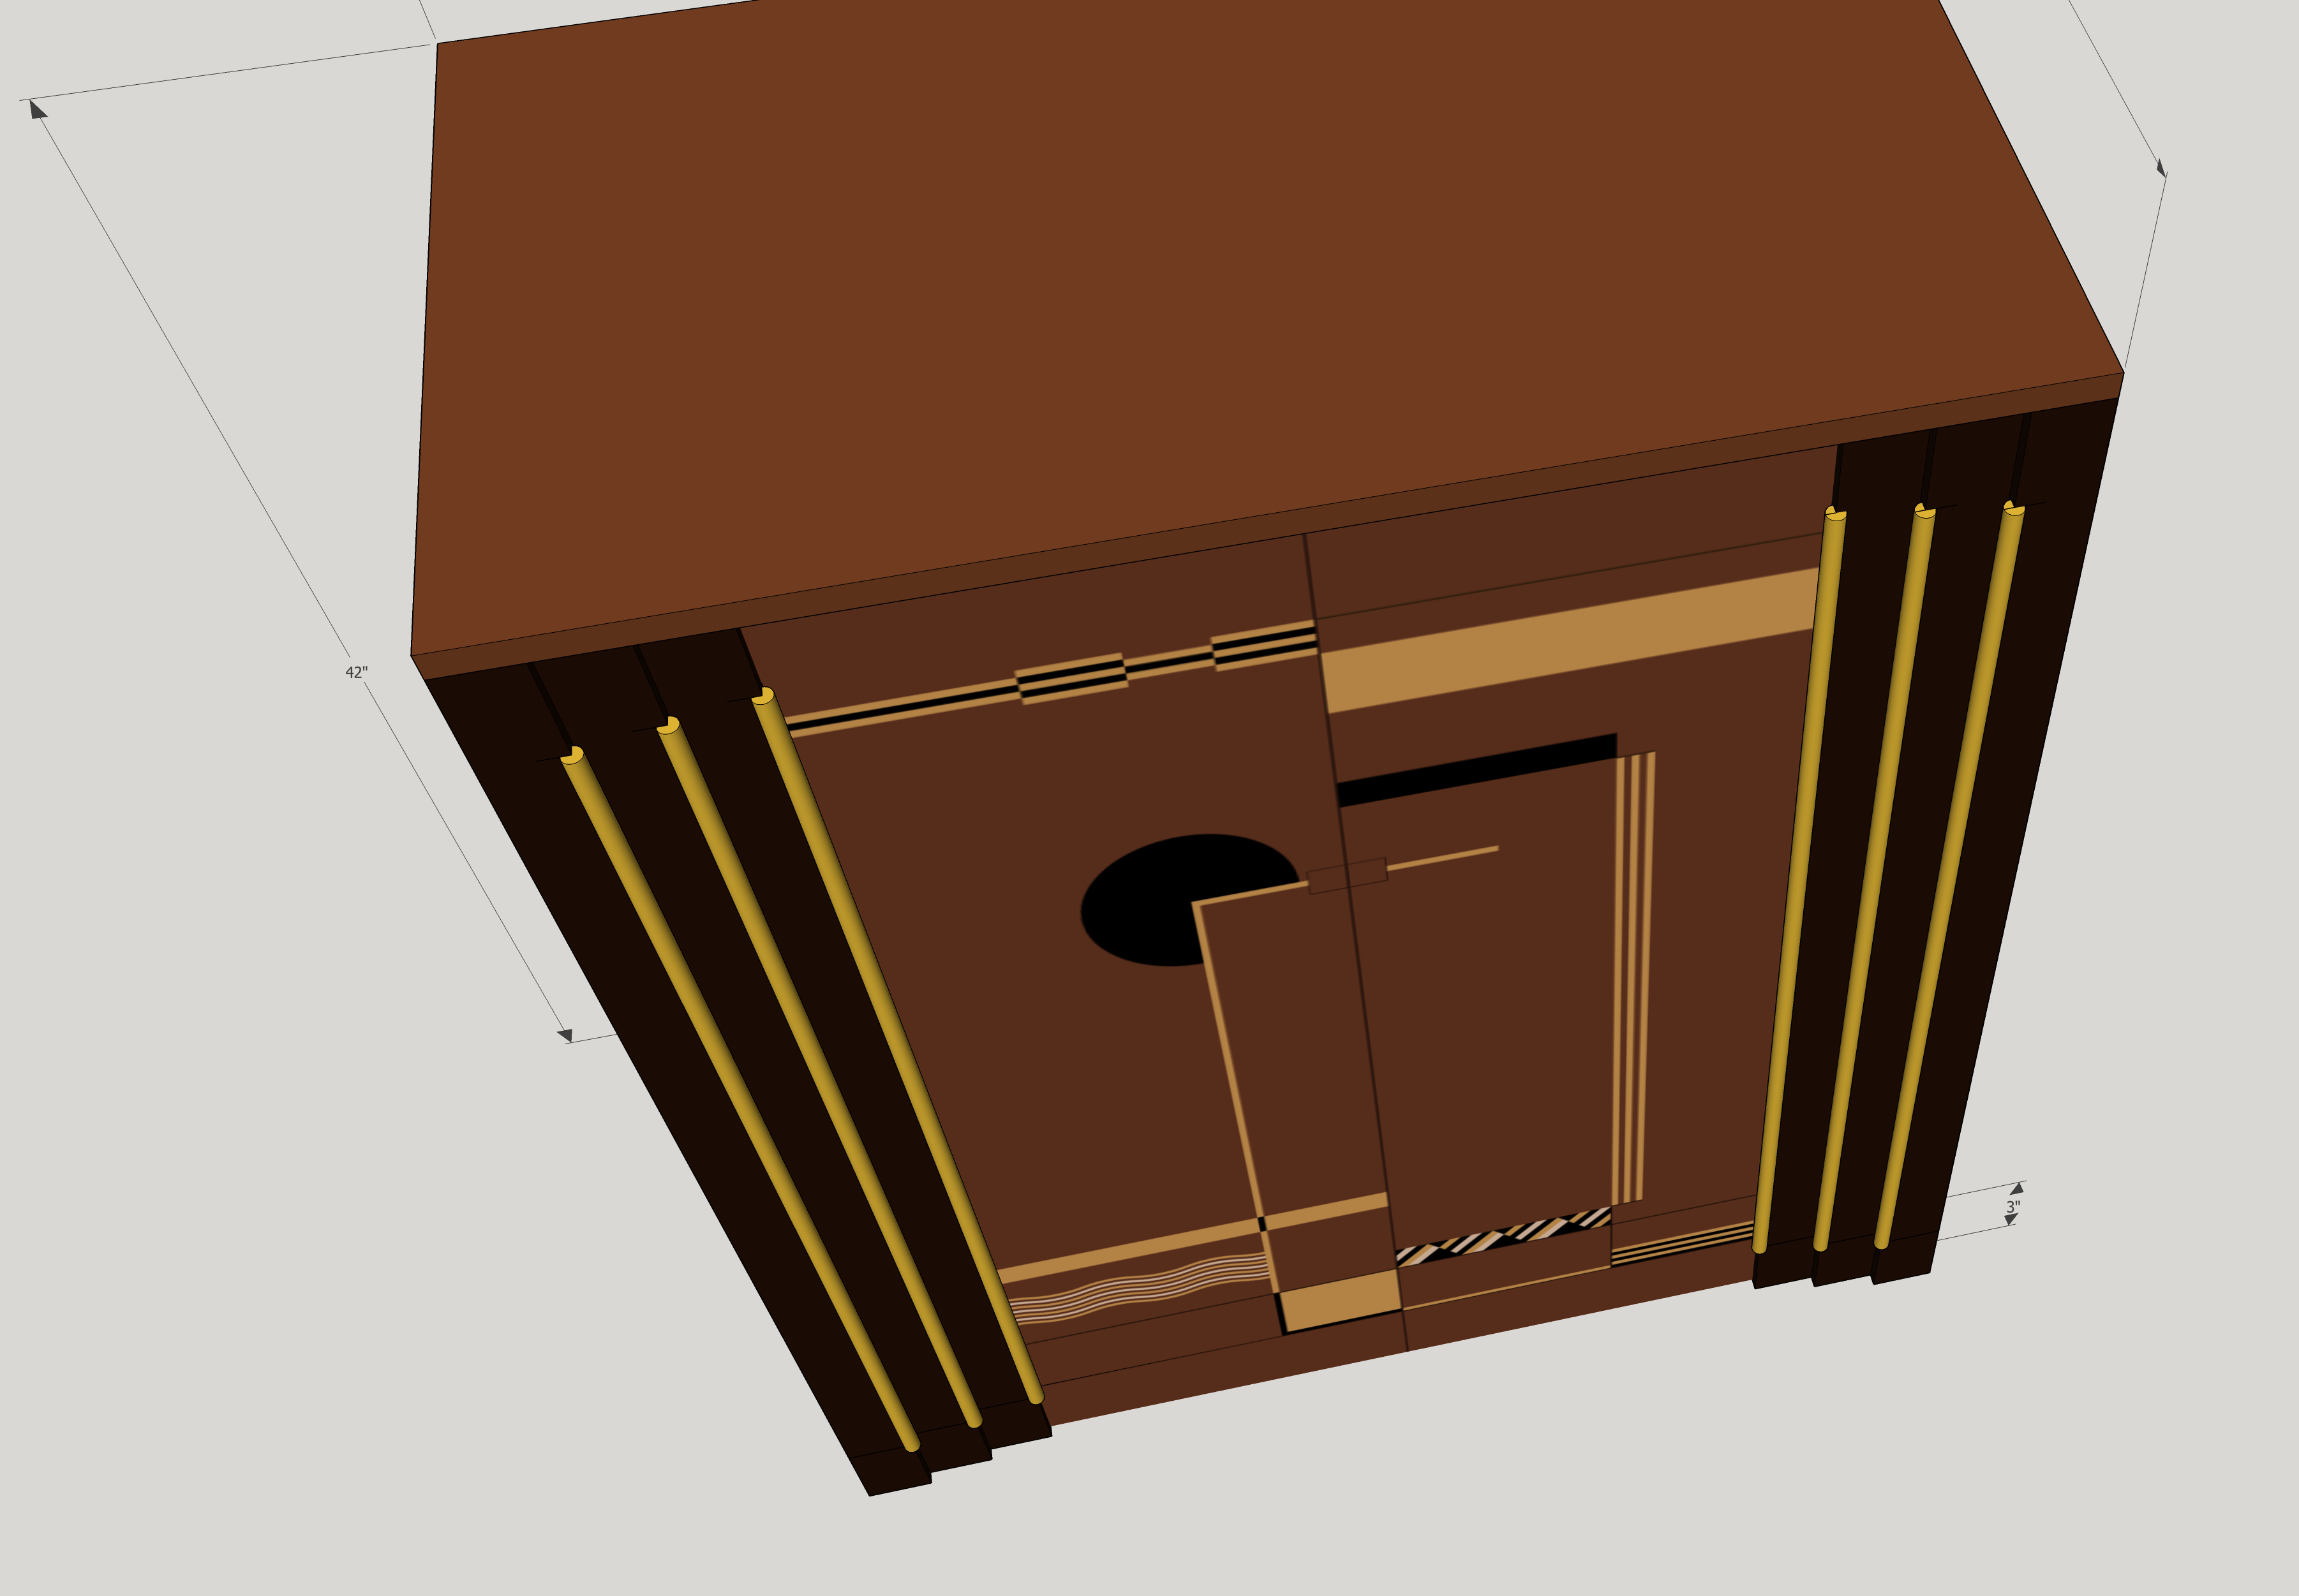
Patrick had bought a beautiful american walnut board in the 70's and it was the perfect piece in color and width for this project. It was big enough to make a solid top, solid edges for the doors shelves etc and saw the rest into veneer for the front and sides. Other materials would include spanilla, boxwood, ferréol and ebony sawn veneer, as well as pewter and brass sheet.
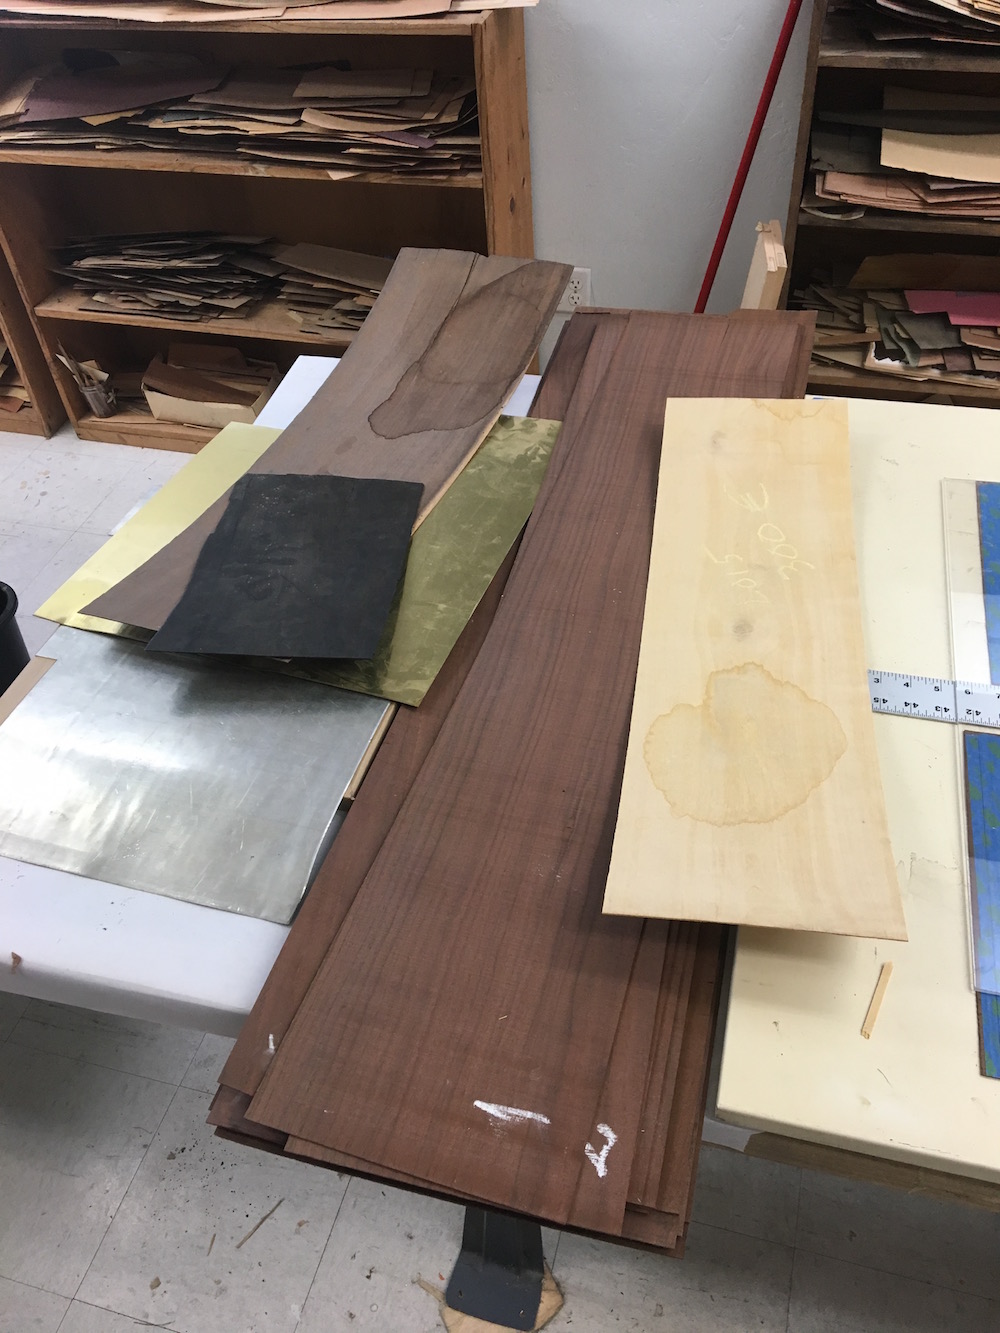
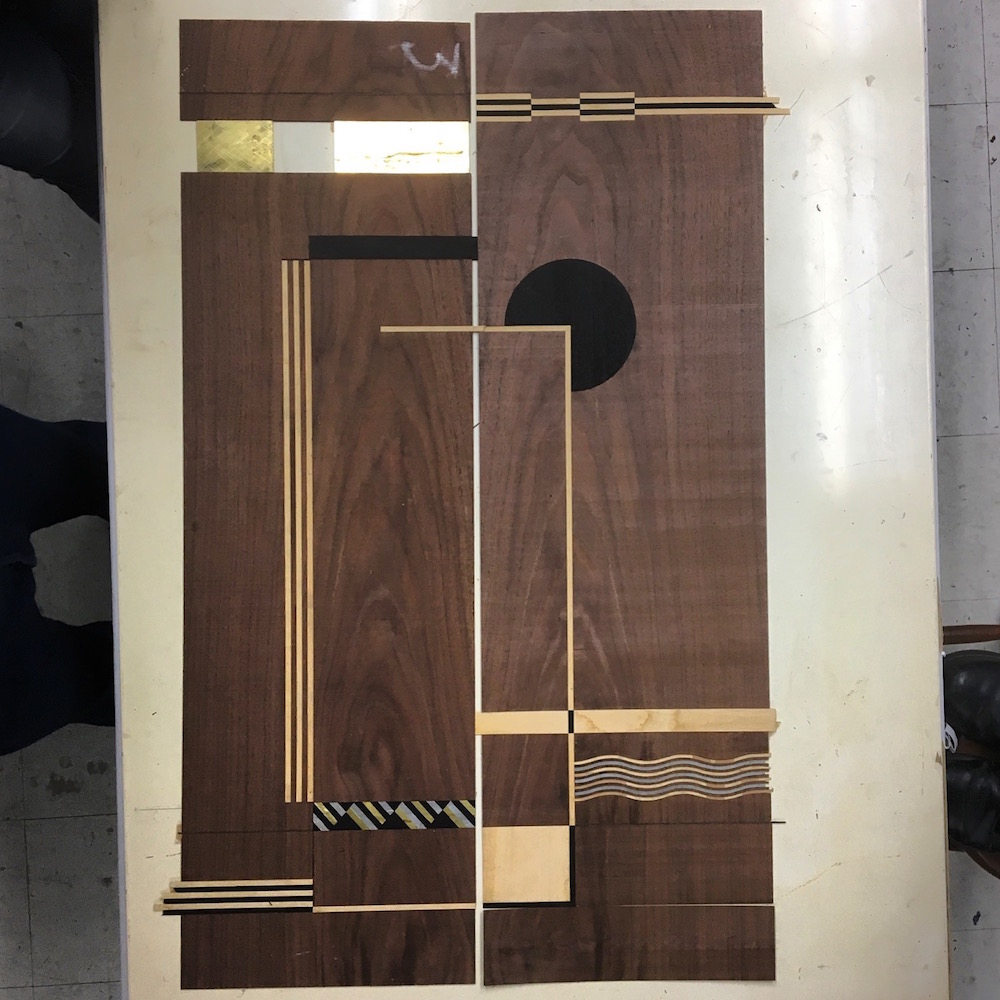
I sparyed some alcohol on the veneer to mimic the color of finish
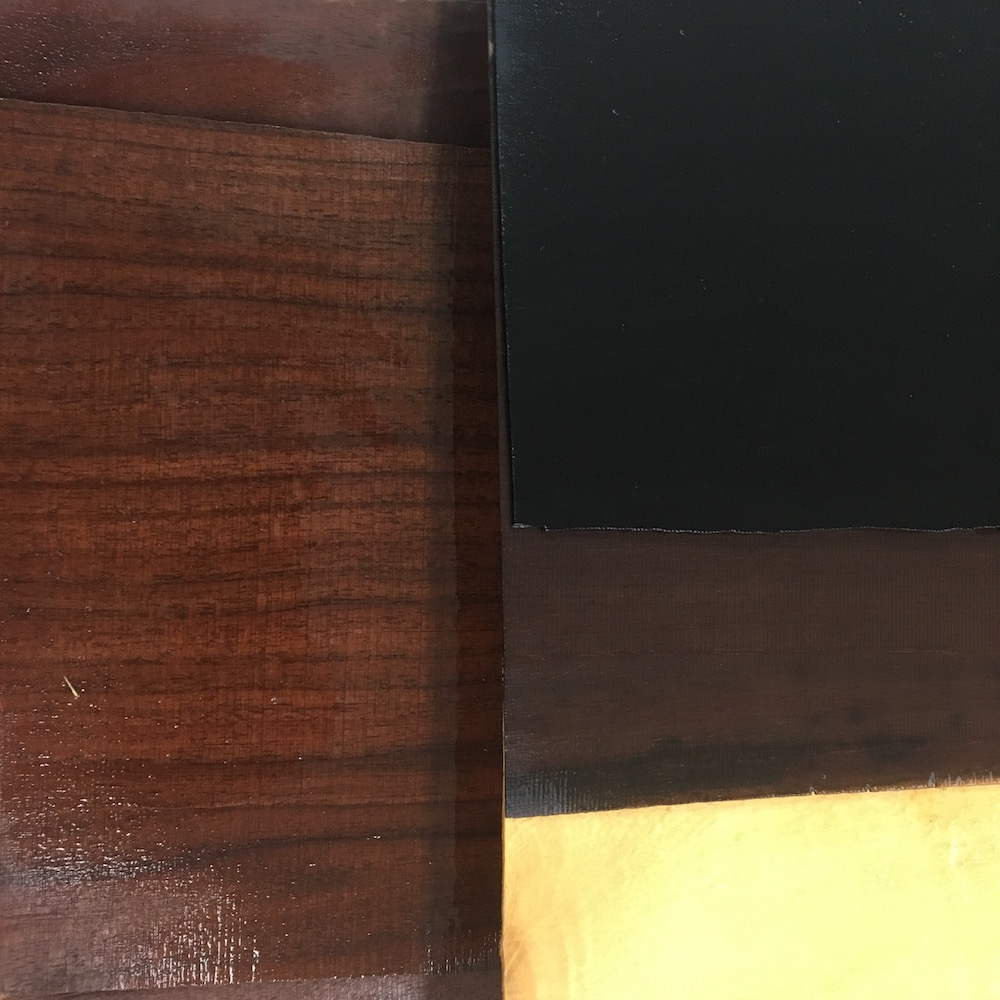
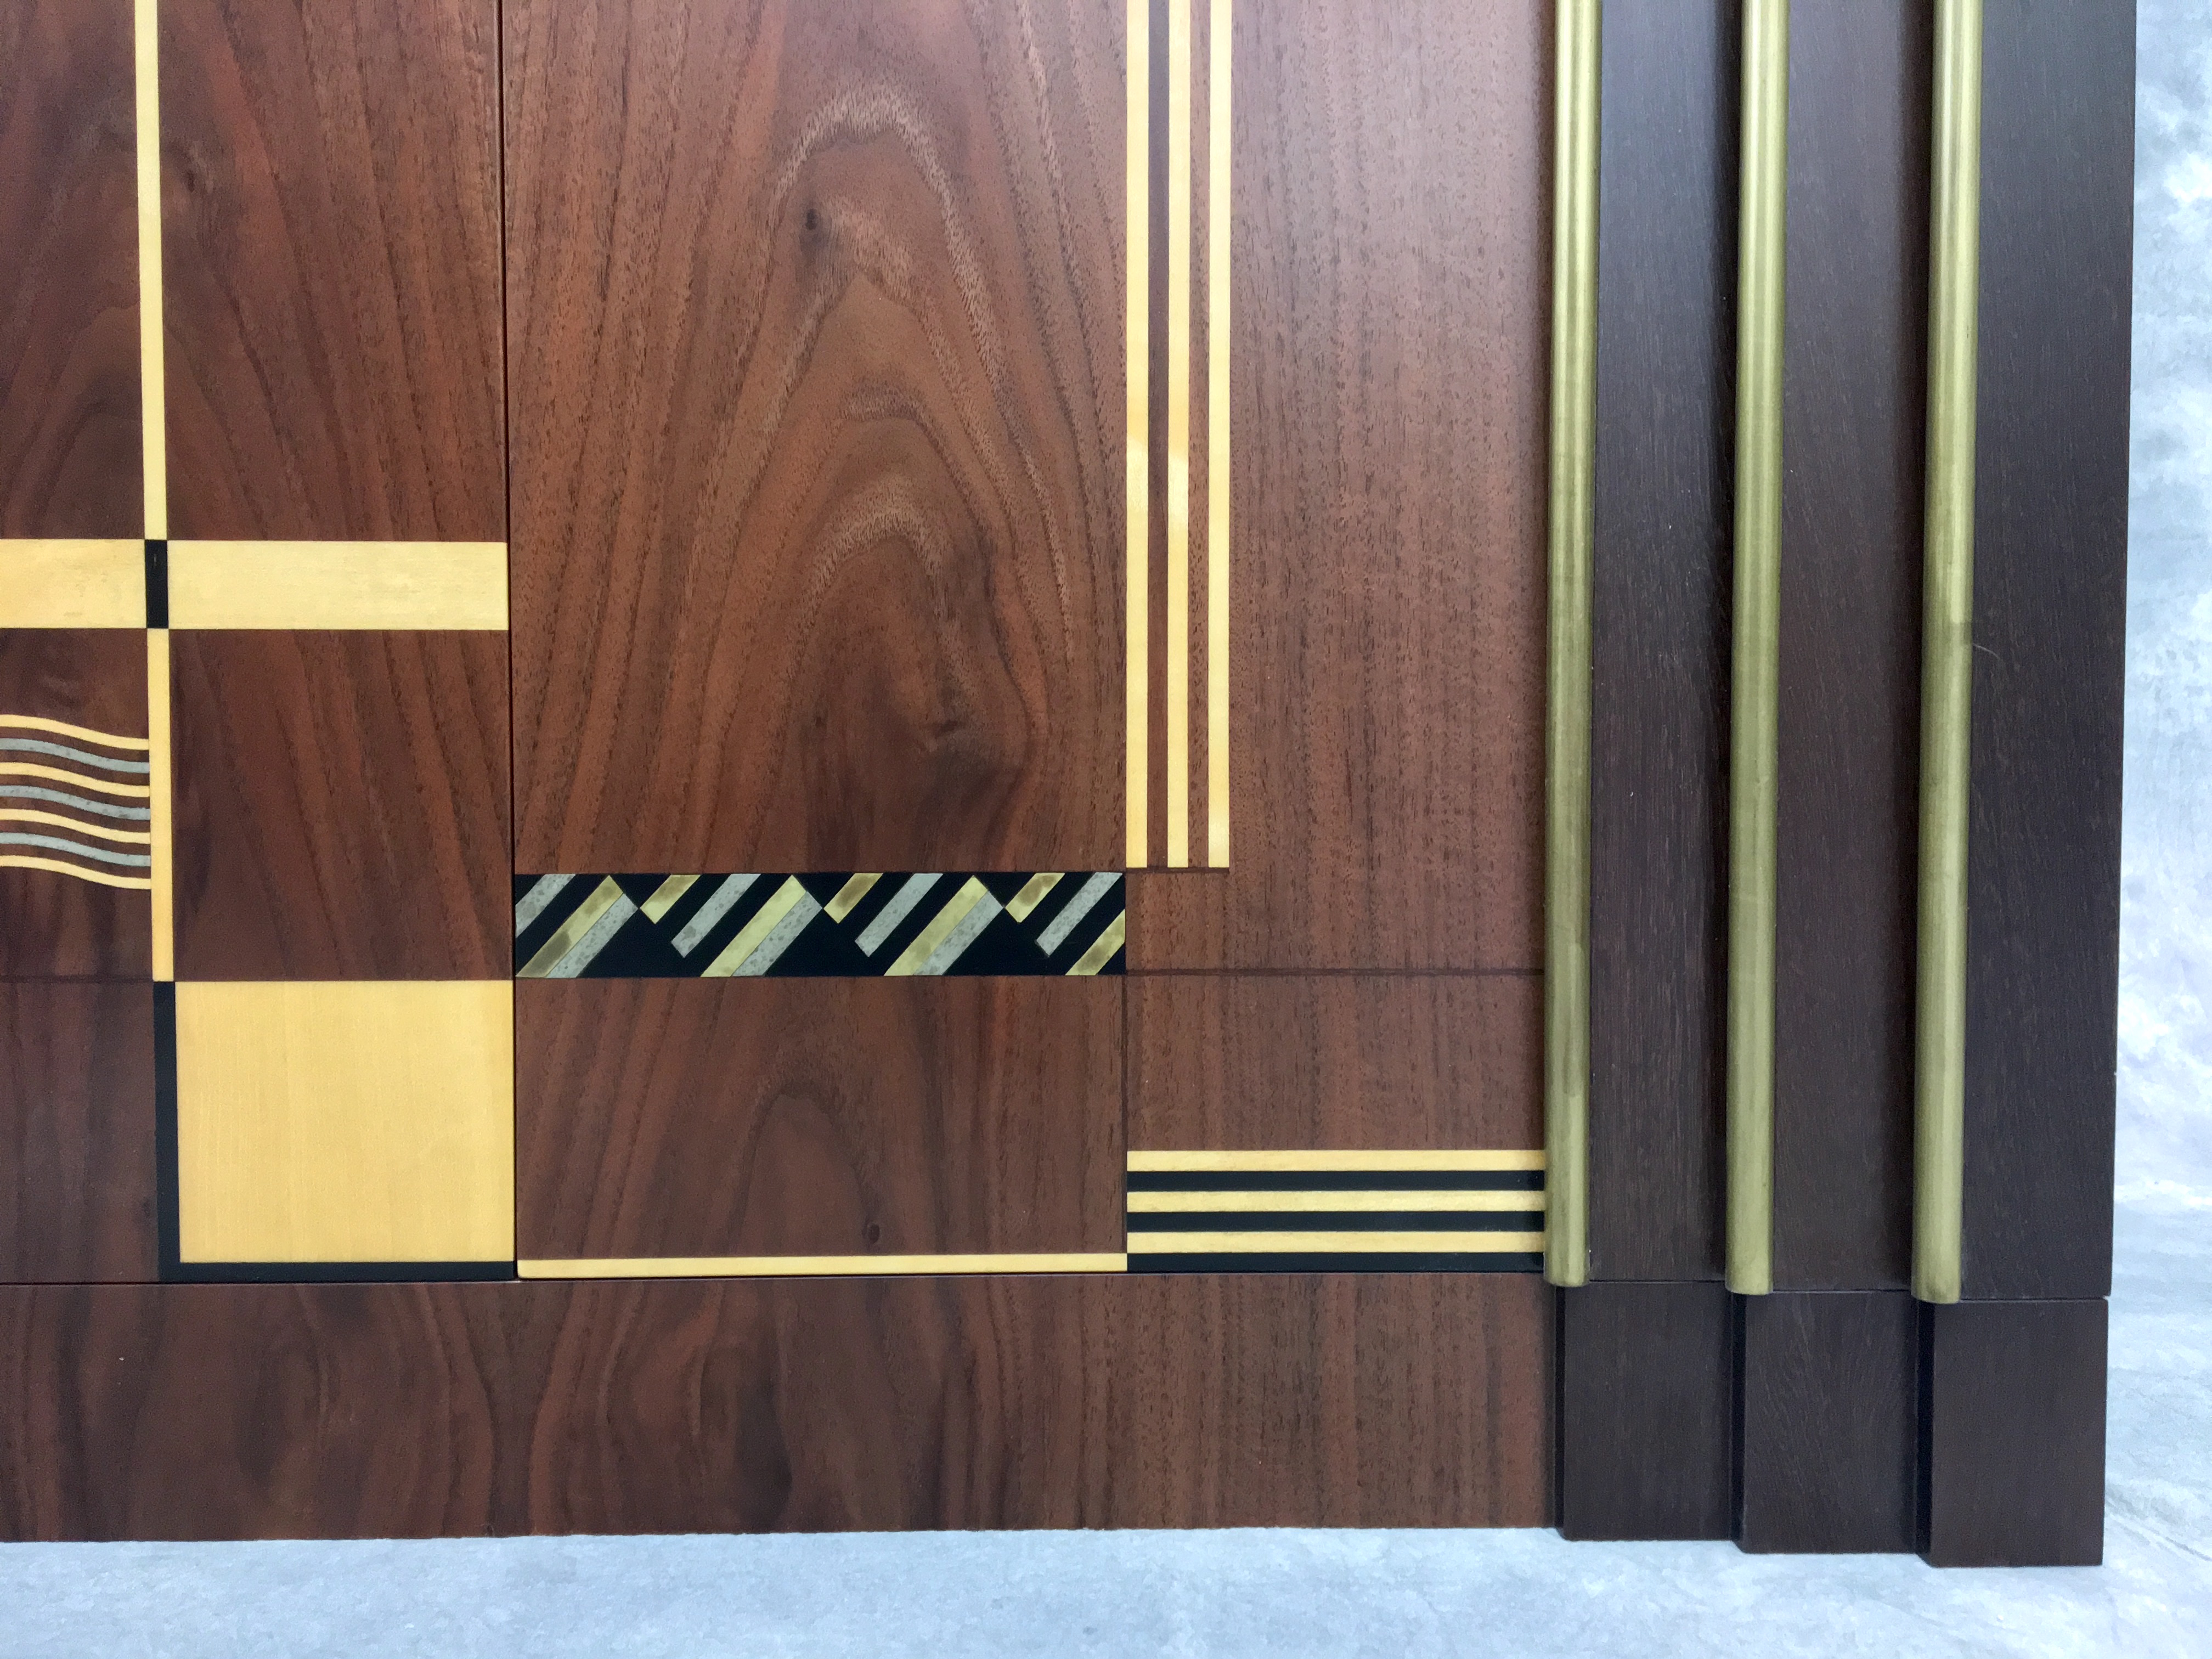
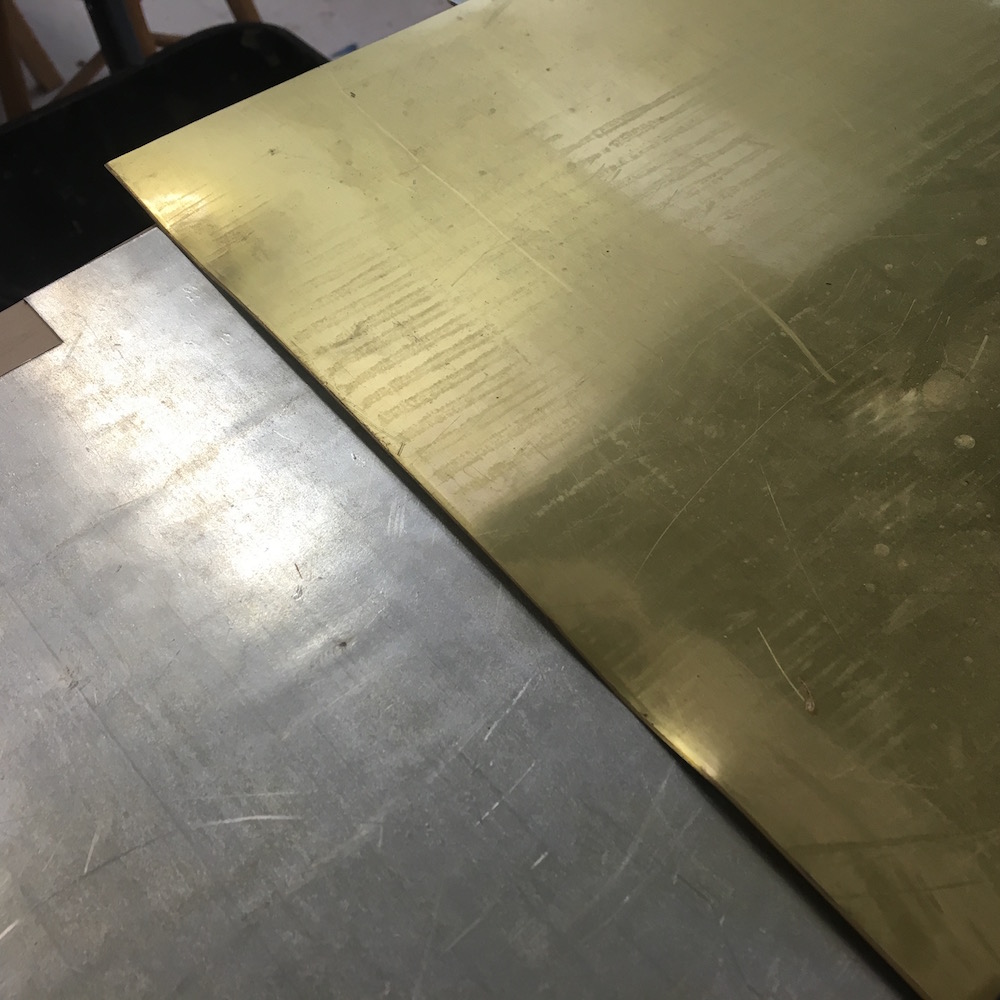
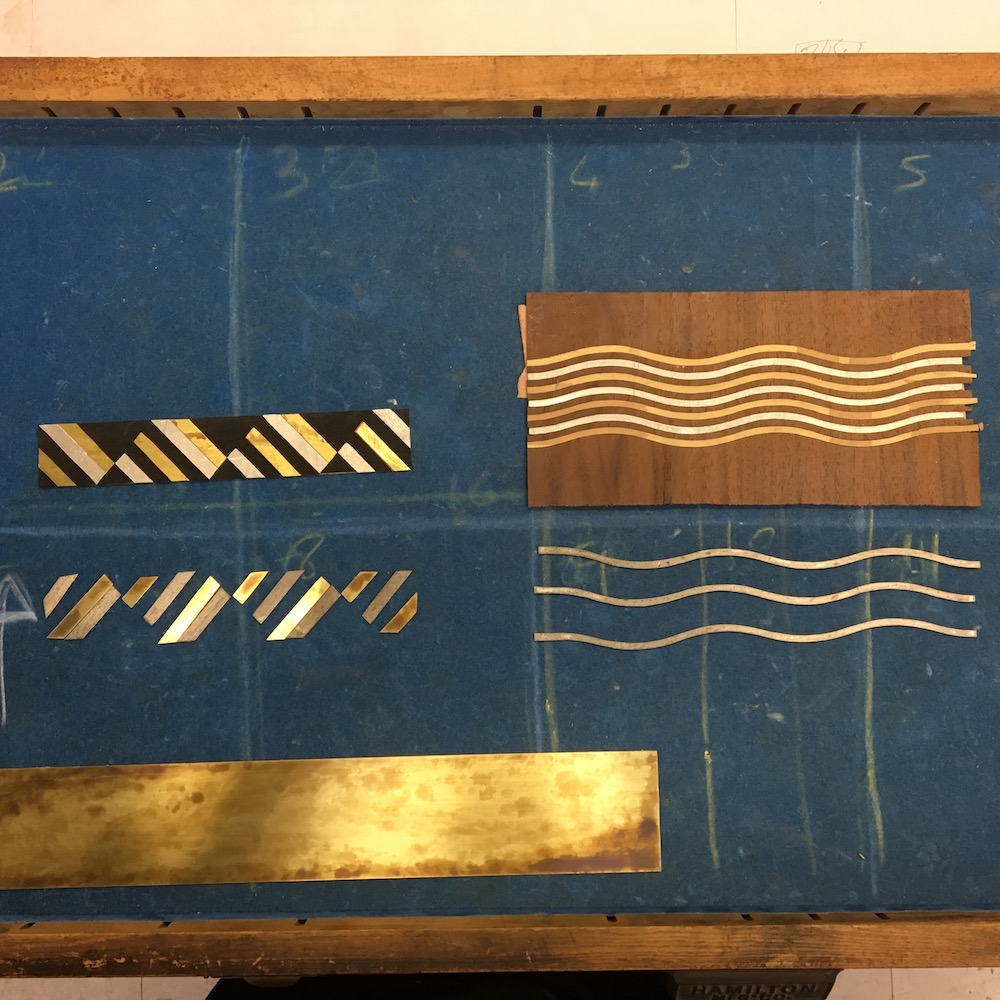
Brass and pewter
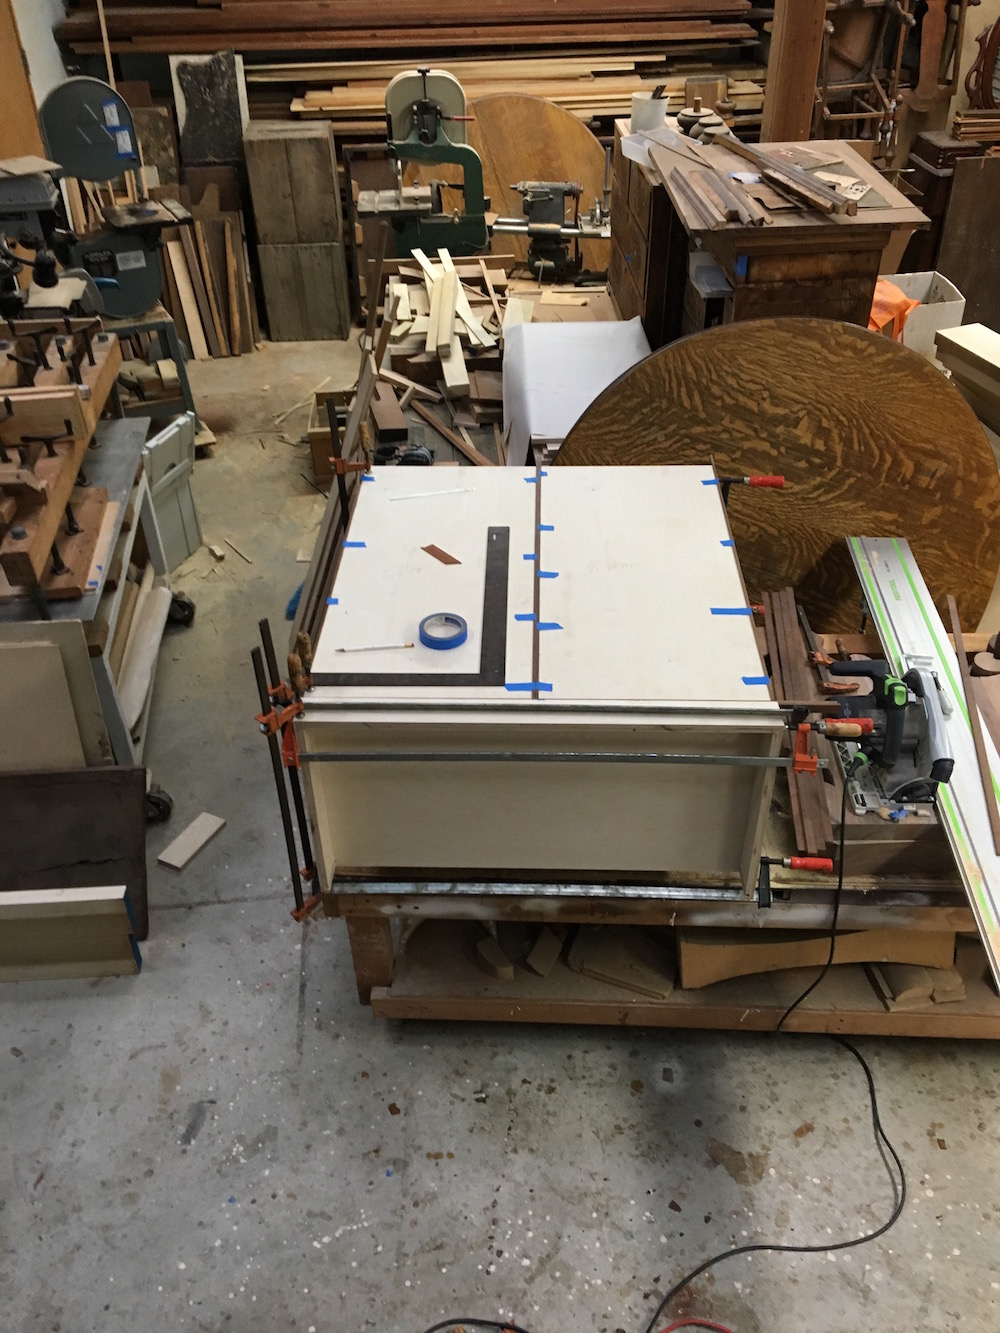
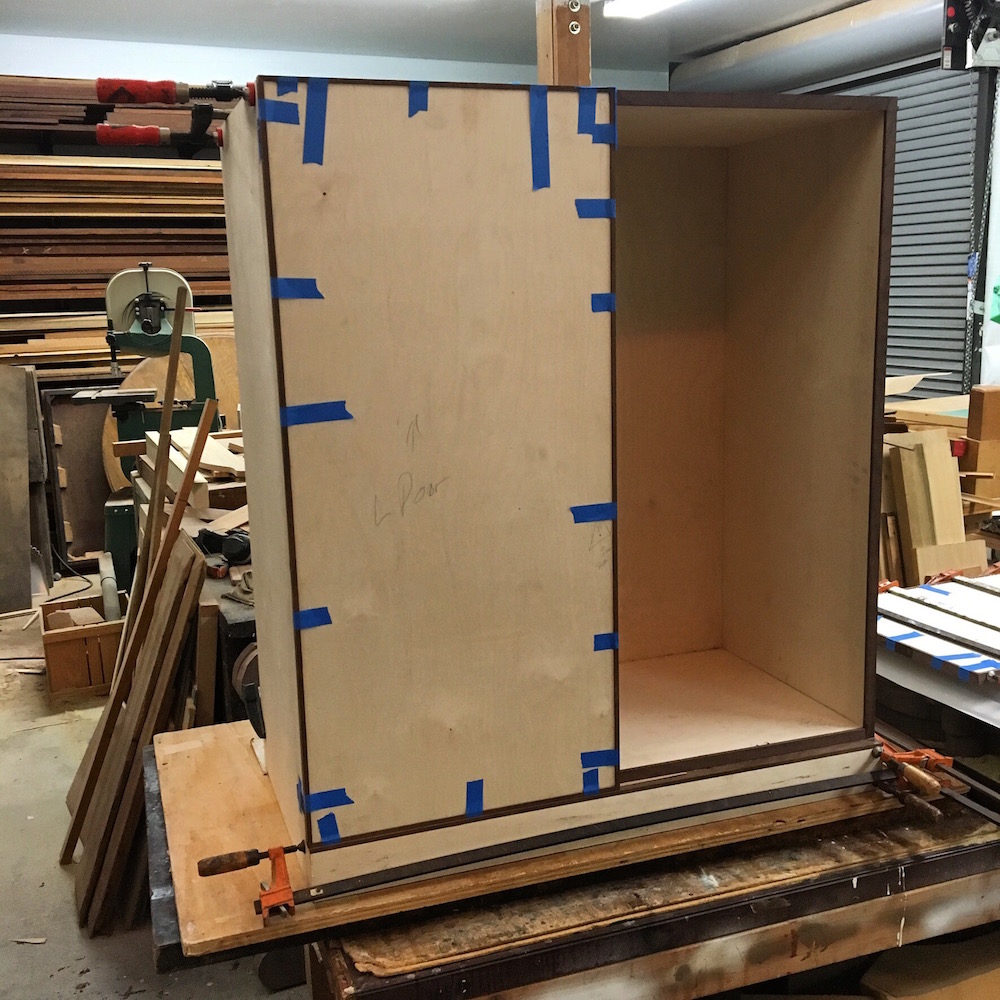
Usually we build our furniture out of solid wood but in this case the cabinet was made with high quality birch plywood.
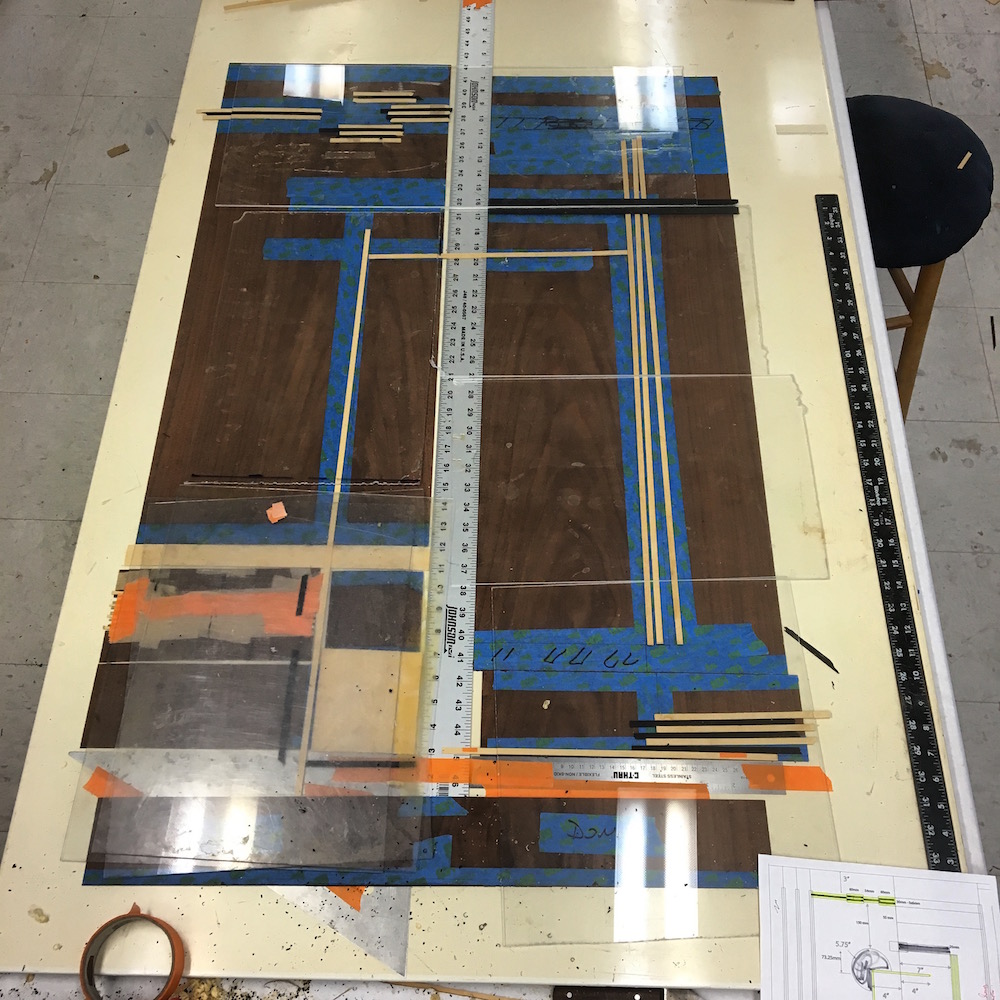
The marquetry elements were cut
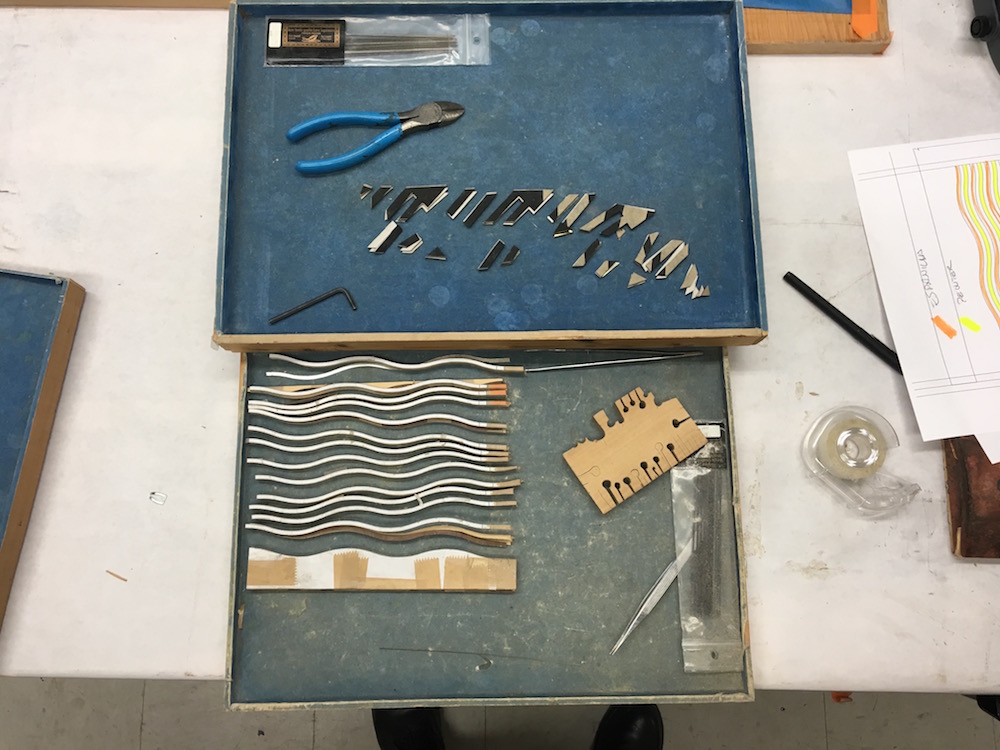
The added challenge was that the metal needed to match the patina of other brass elements in the room. to avoid having chemical on the wood we decided to have the elements prefenished and install them later after the sanding. As I cut the elements in supperposition "Boulle" style, I had left over elements that we mounted in the marquetry and kept the final elements that recieved the patina aside.
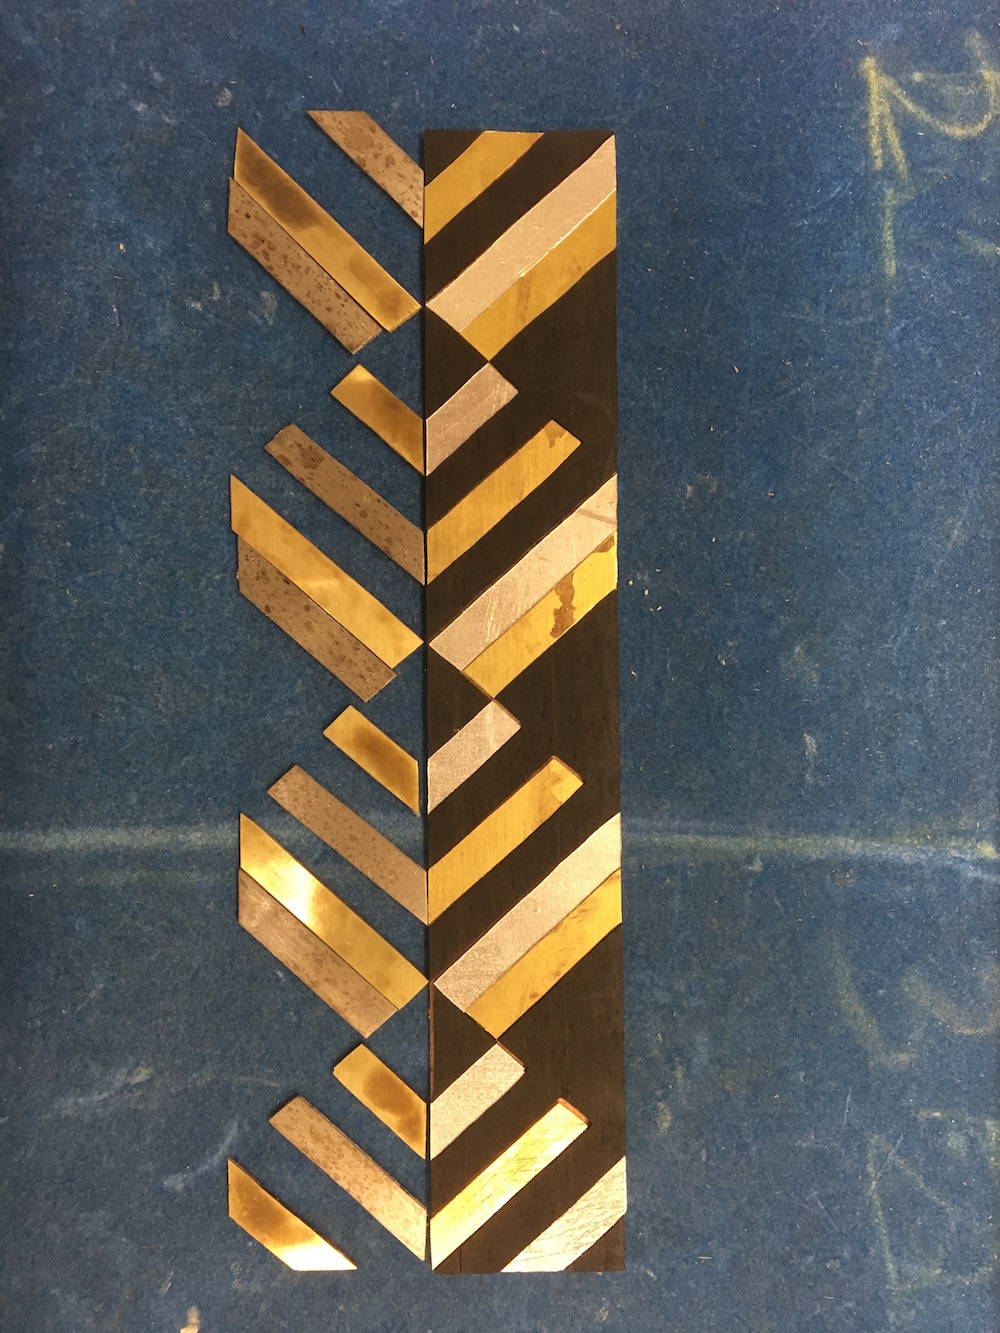
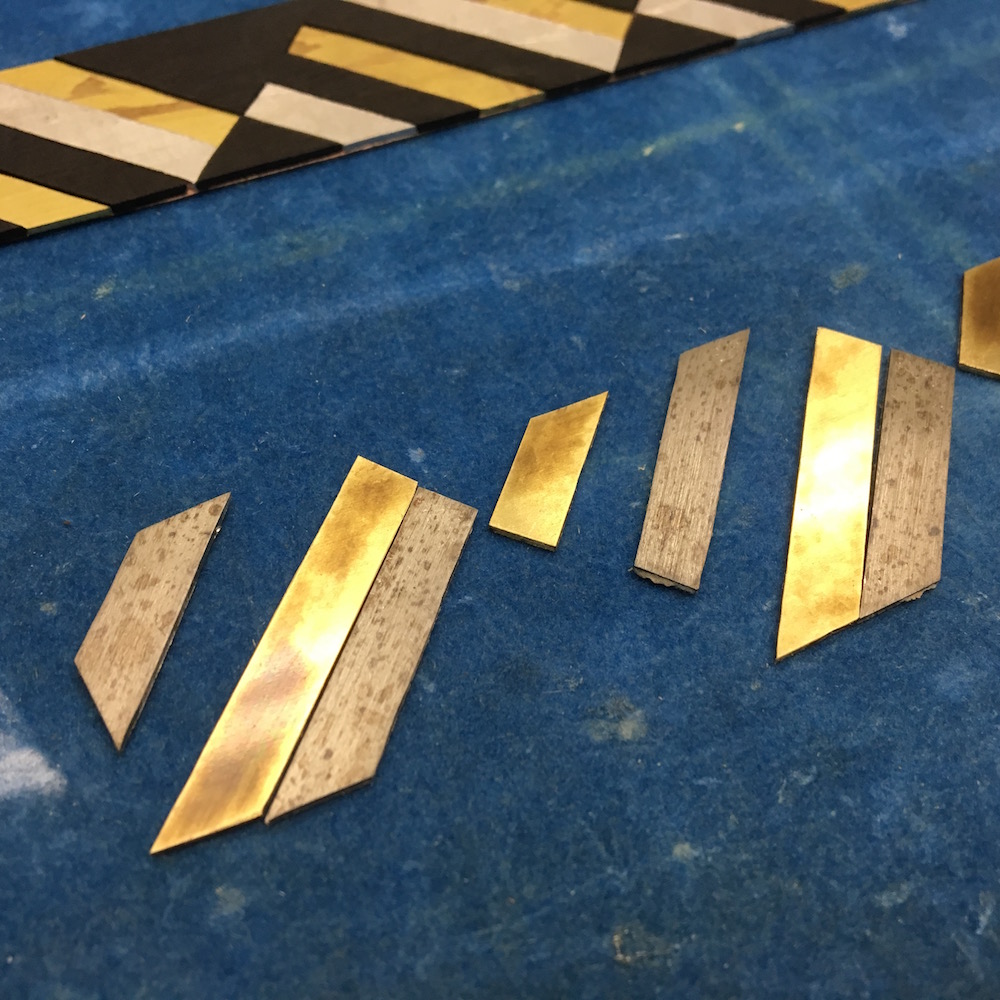
then the front marquetry was assembled keeping the walnut background grain flowing throught the all piece, including the kickplate.
The doors and the pilaster were veneered. For the pilaster we used ferréol a dark chocolate color wood on the front and totally black ebony for the side to create more volume.

Then the doors were sanded up to the metal
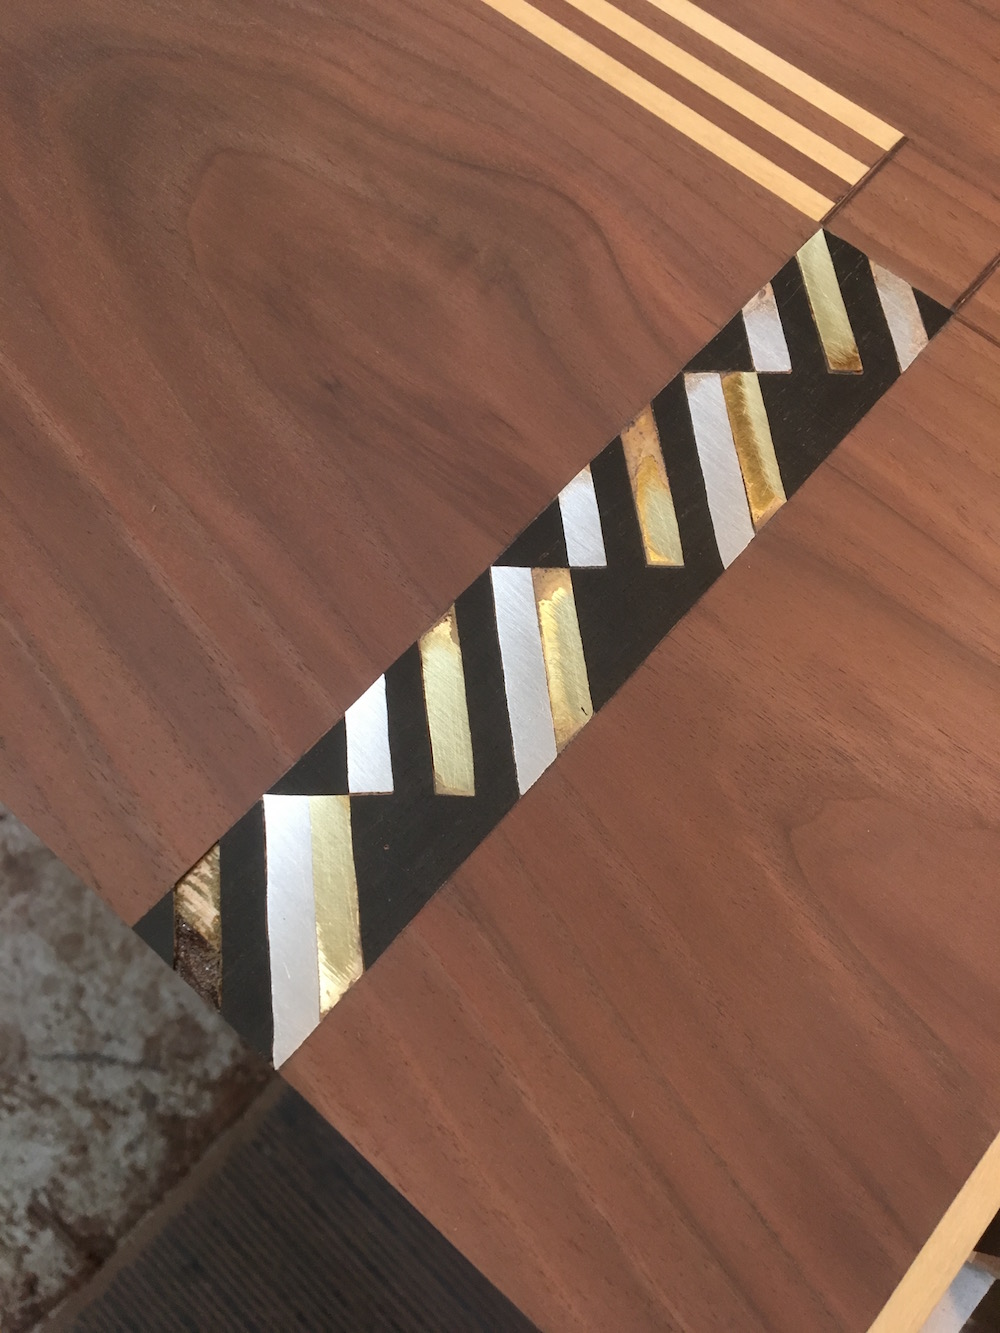
As we used liquid hide glue, Old Brown Glue, we used the reversibility of the glue to remove the dummy metal elements using heat and moisture. As the glue was still fresh we had only to use heat.
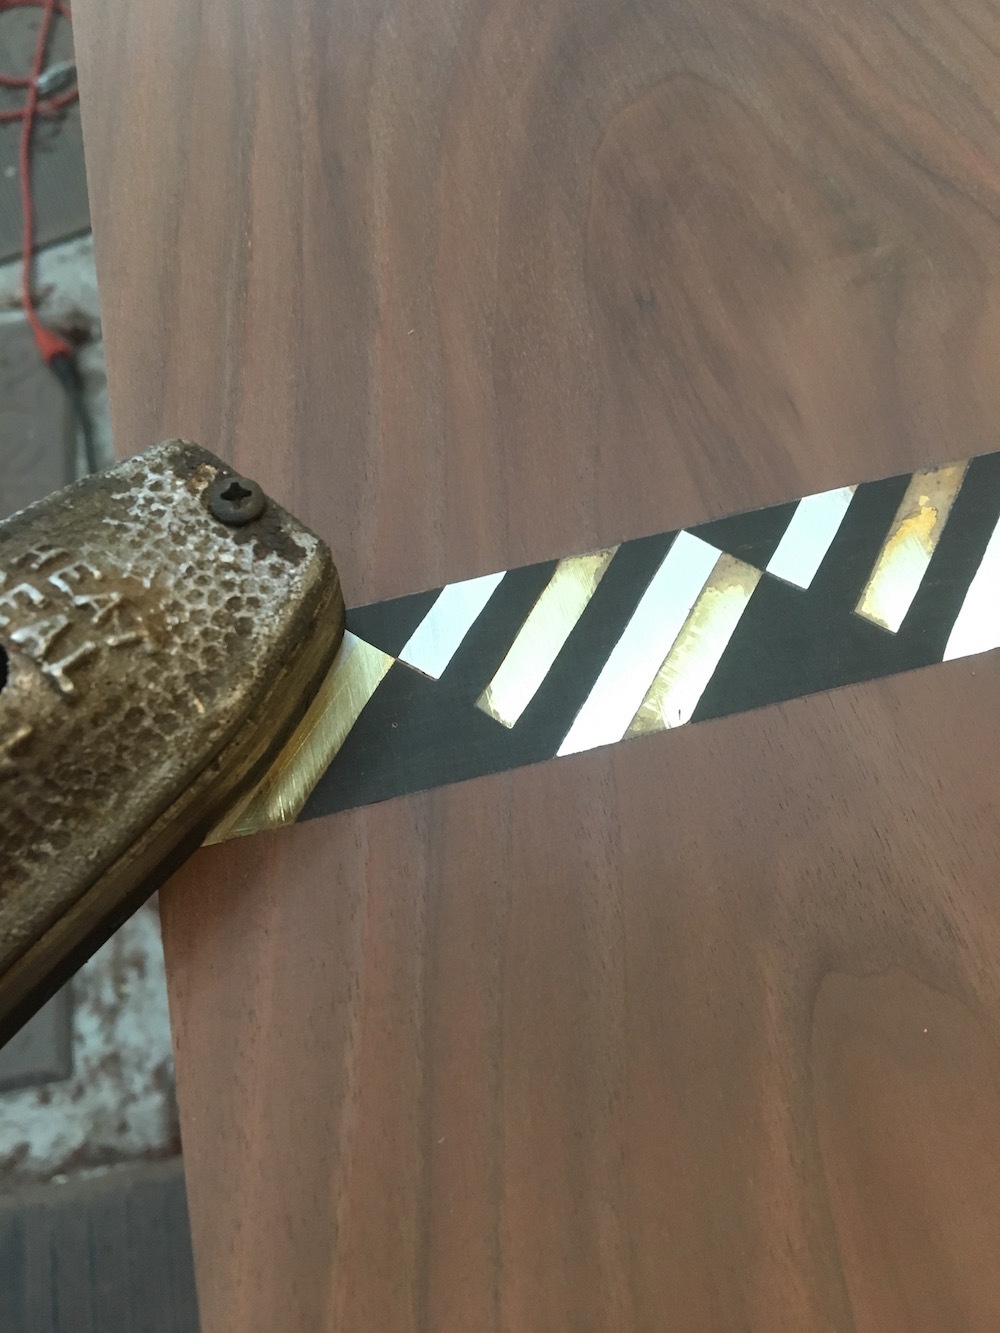
Once the elements removed

The cavity were cleaned
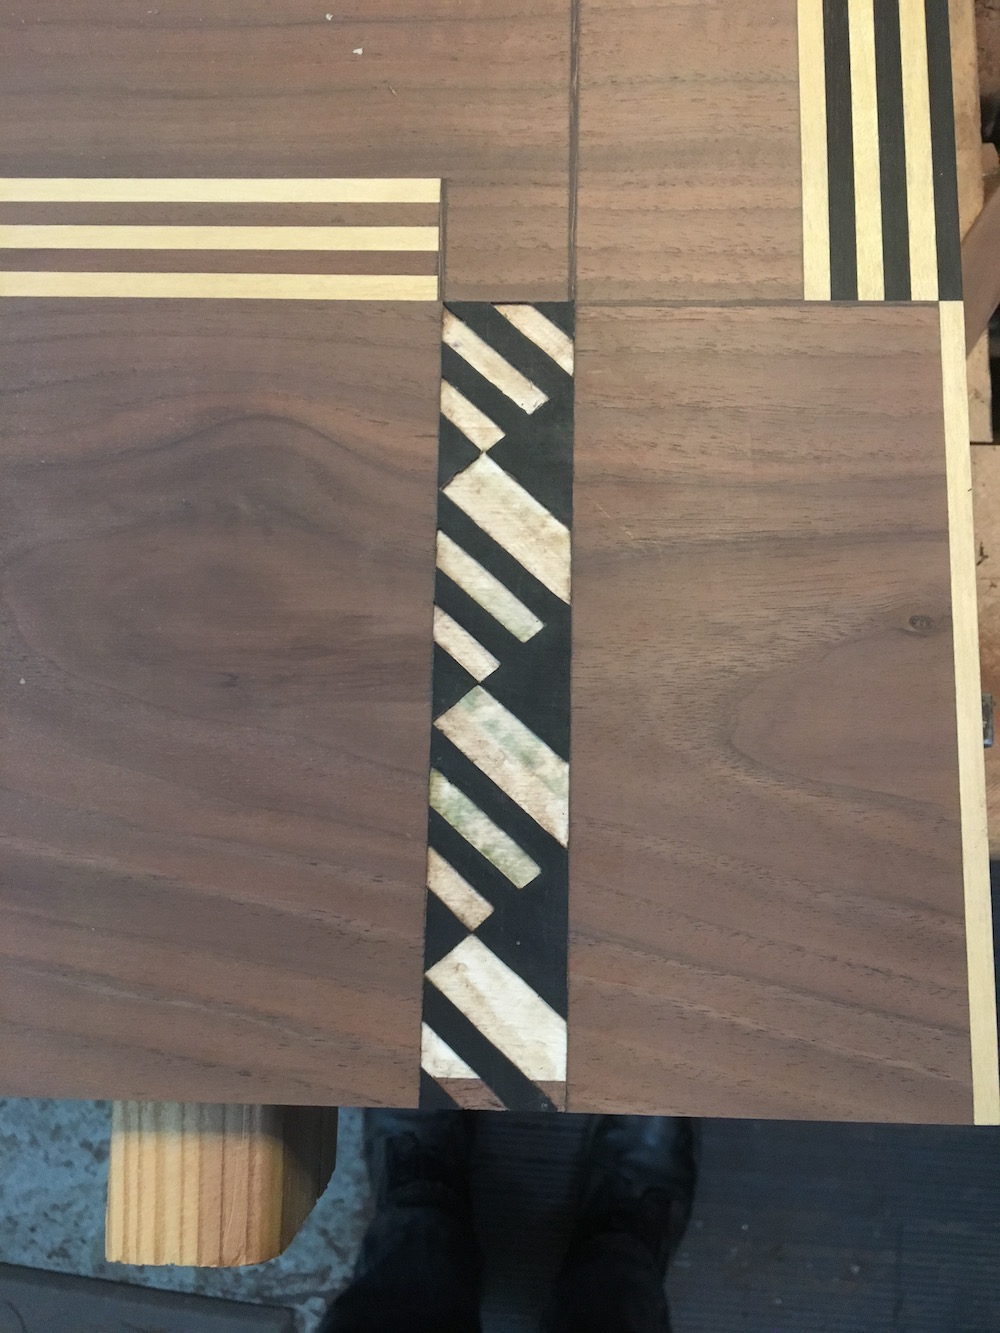
The finished elements could be inserted and glued with fish glue. Fish glue is the best adhesive for glueing metal on wood.
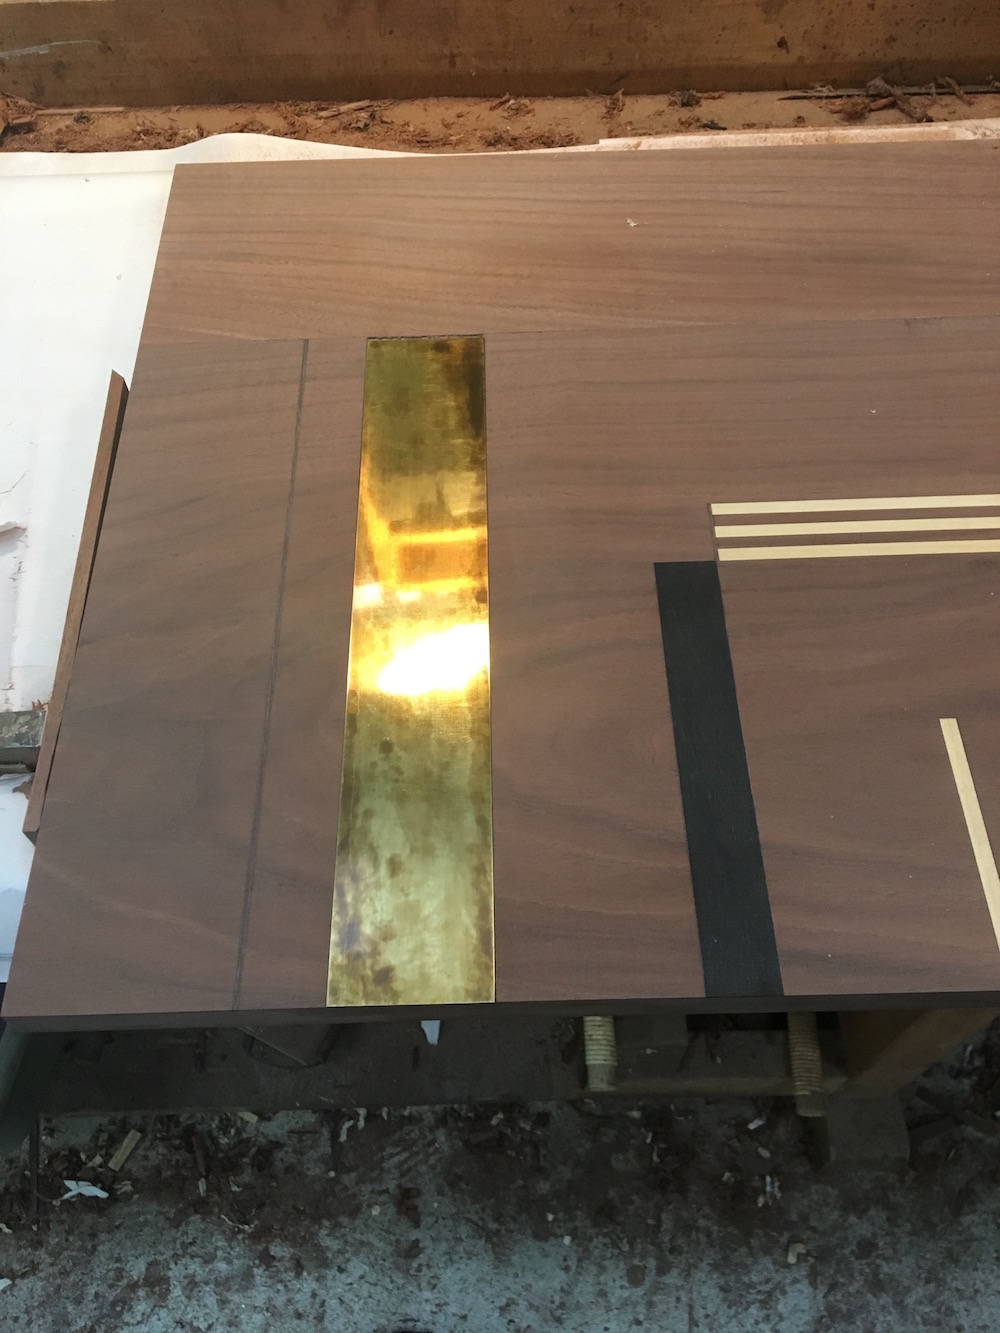
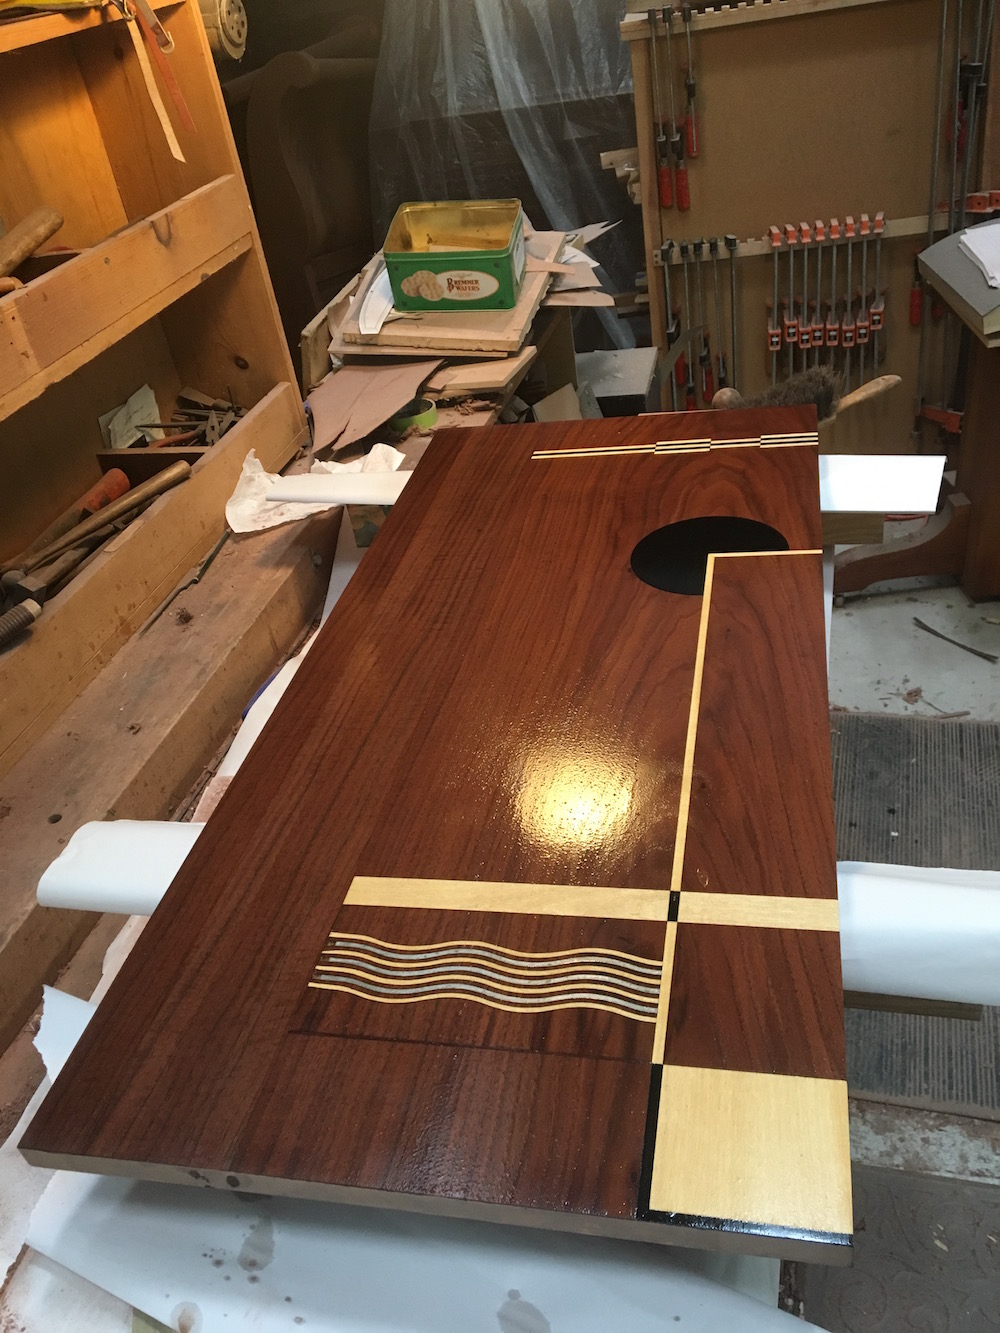
At this point I could not resist to spray some alcohol to have an idea of the overall effect.
The cabinet is glued and the door adjusted
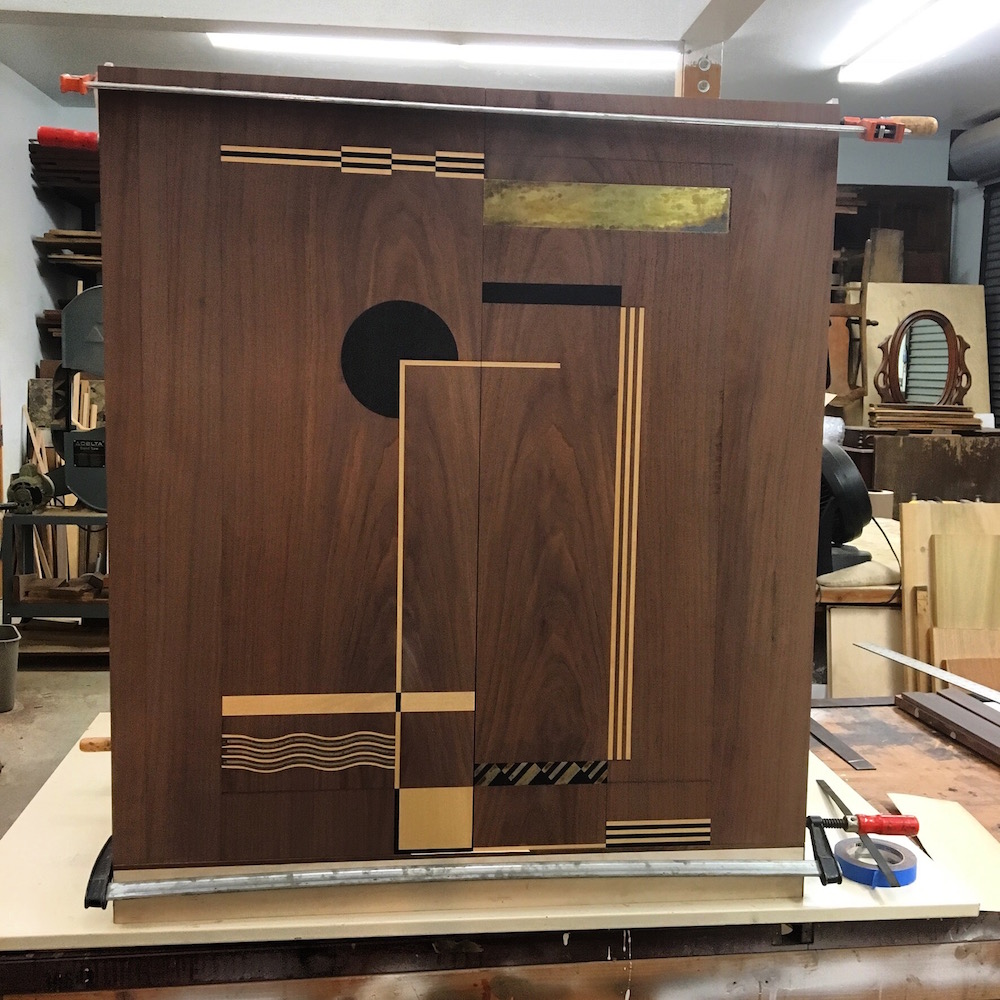
The pilaster glued to the door and the kickplate veneer to fit perfectly the grain of the doors

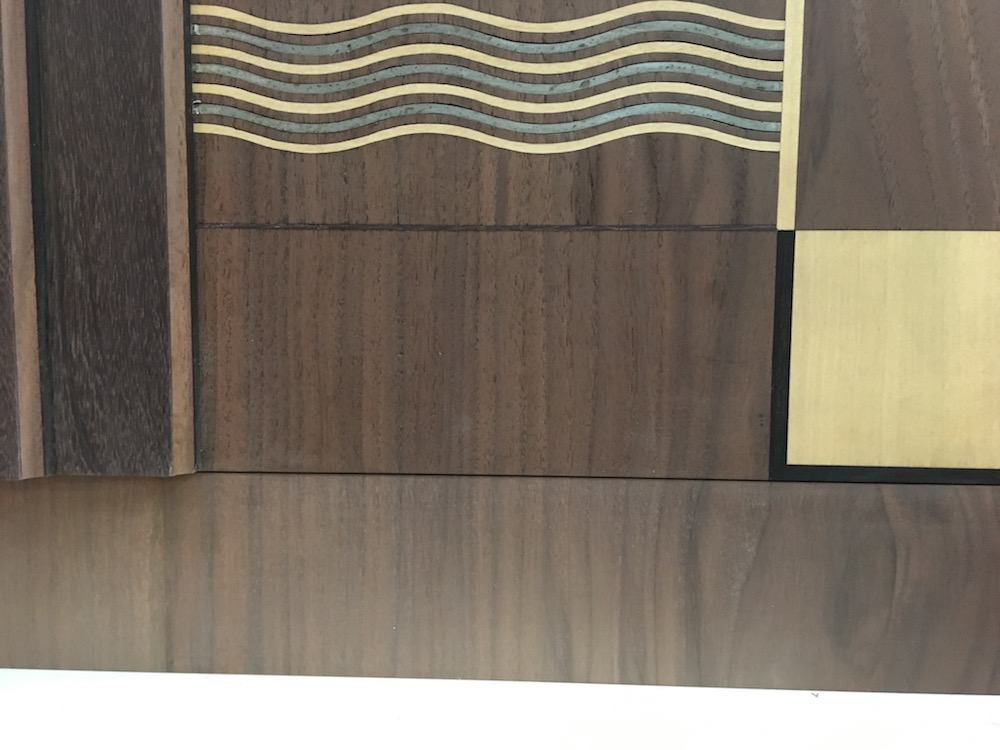
The top is adjusted to fit the cabinet
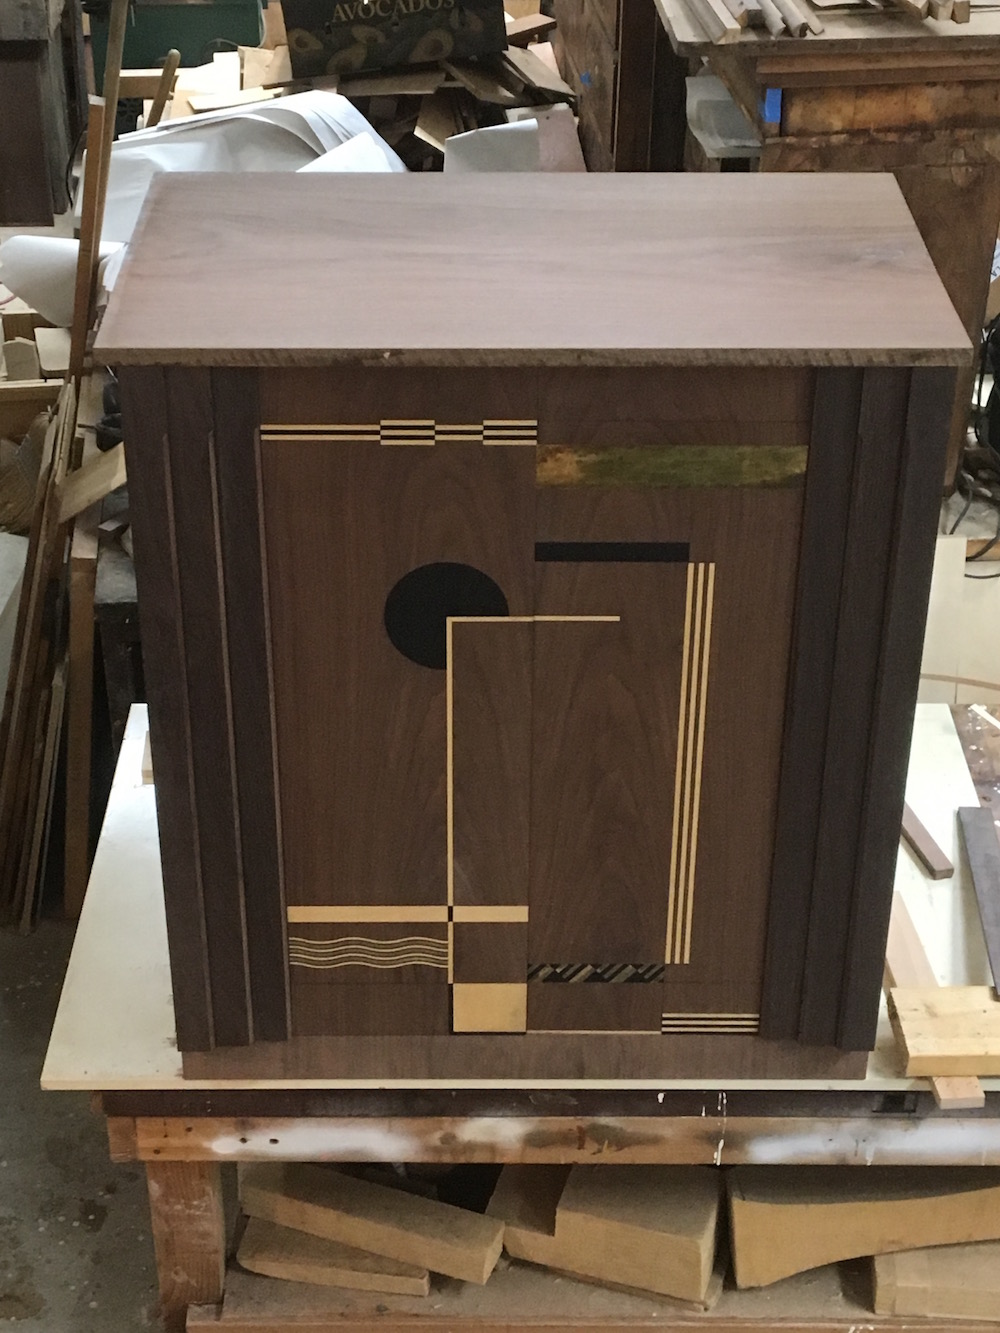
The lower pilaster is then glued on the kickplate with liquid hide glue, Old Borwn Glue.
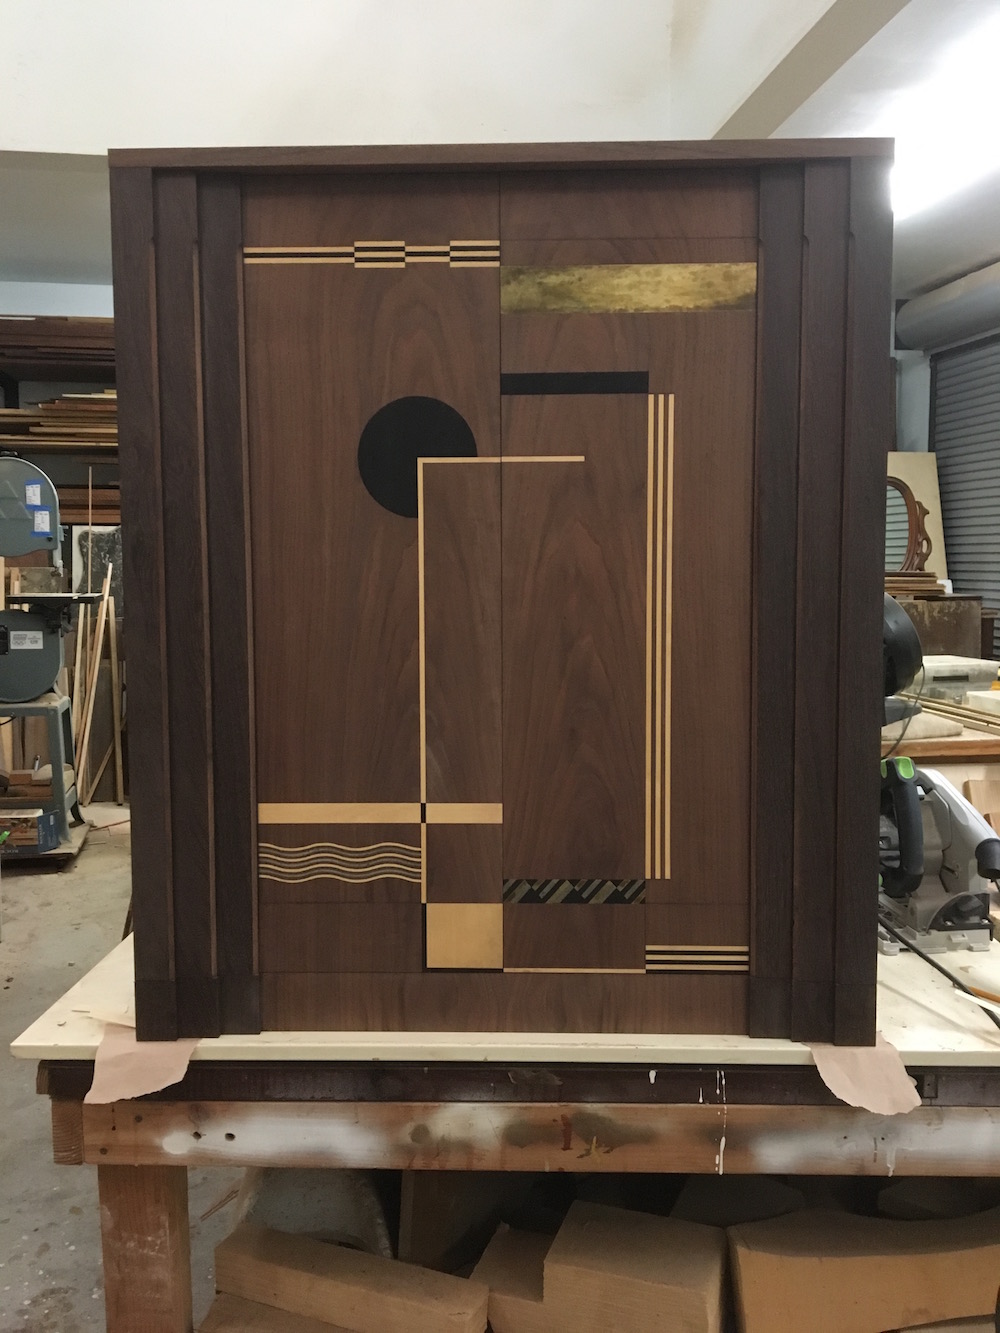
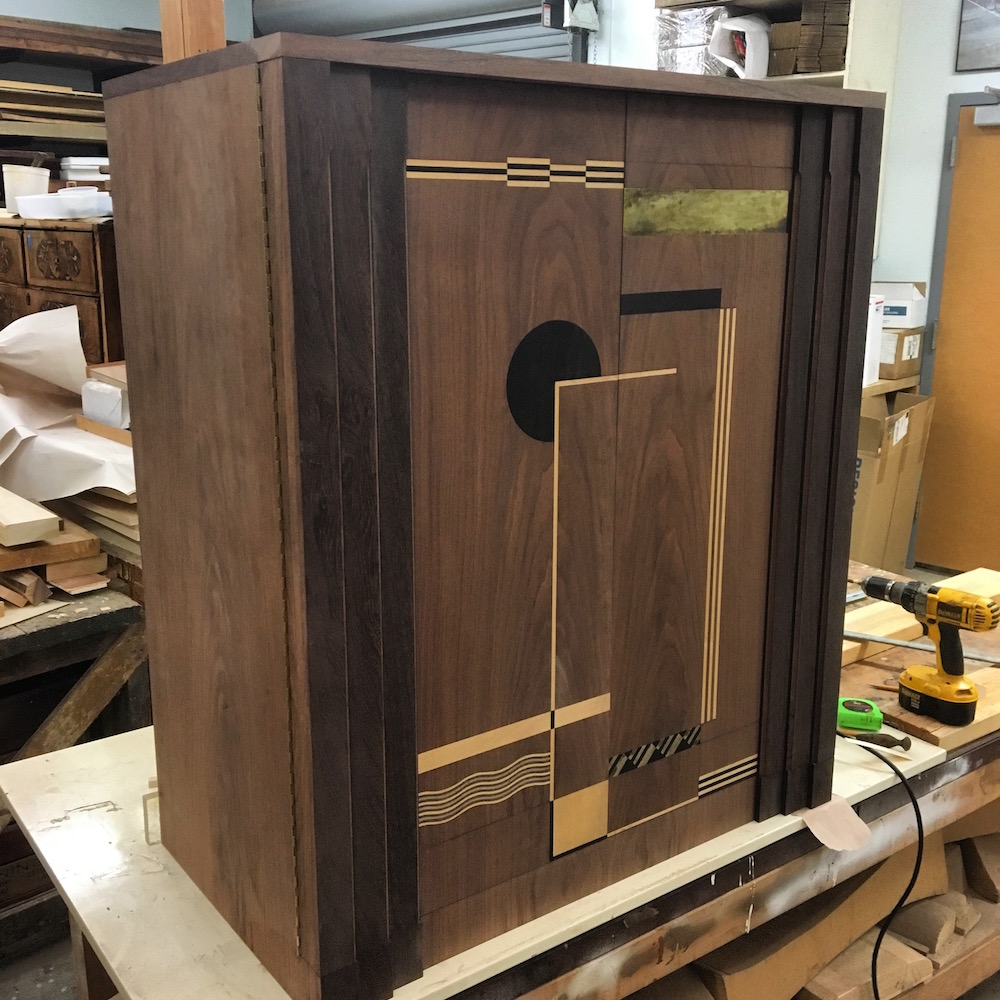
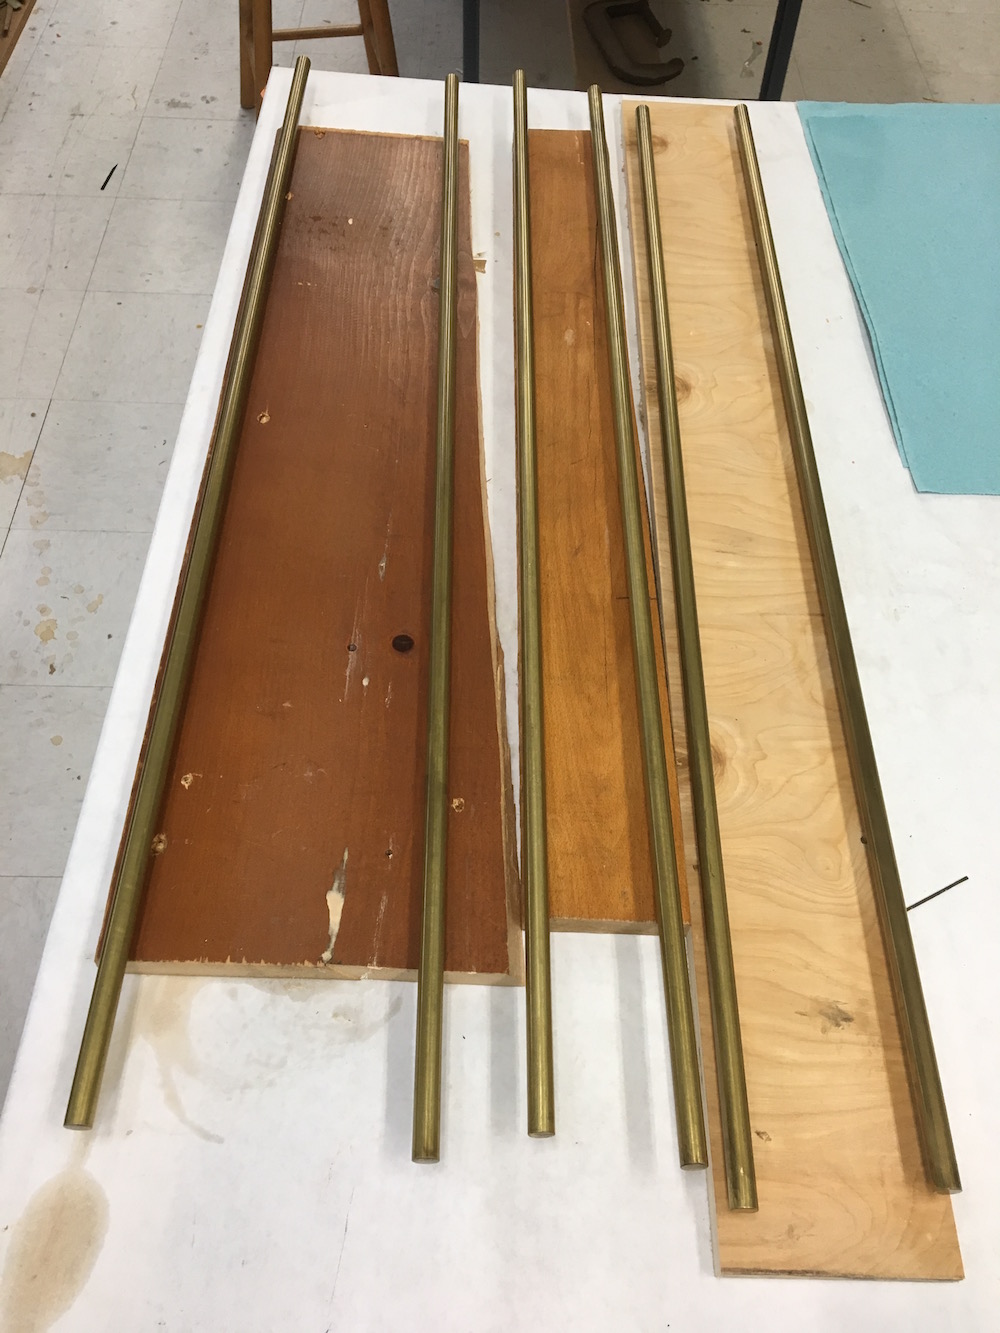
The brass rod can now be fitted in the fluting. We have installed some pegs in them that will be used to glue them to the pliasters.
Now, it is ready to be finished.

